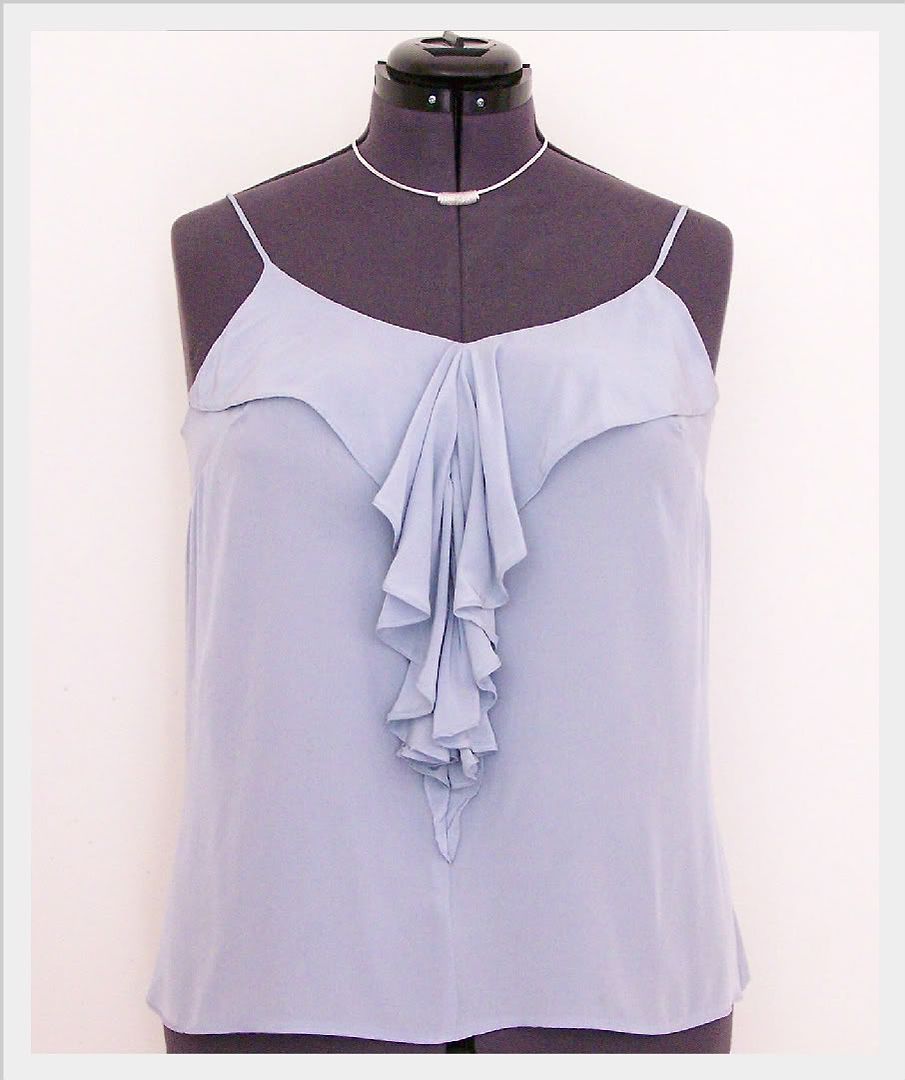
I had been in search of a top that would give me a similar look like the fabulous Black Halo Cami Dress. I've been in love with this look since last Fall... remember Mandy Moore wore it on the cover of the October Lucky? Cindy did a really cute version also. I thought it was interesting to have a dress that "looked" like a cami and a pencil skirt. I'd prefer to have separates because they provide more options.
Project Details:
Pattern: Butterick 4987, view C
Fabric: 100% Silk
This is my second garment for the Mini-Wardrobe Contest. The envelope *claims* "2 Hour Pattern"... well, it took me a little longer than that. I cut the size 16 (should have cut the 14), made a 1" FBA (my usual) and added 3 inches to the length. I knew I would wear this tucked in and wanted the extra length so it would stay tucked.
As you know, silk is a very fluid fabric. I layed it out on top of some old fabric that I would normally use for muslin for more control while cutting. I used narrow hems and french seams (sorry I didn't get any pics of that... the battery died). I wasn't sure how the ruffle would hang, but after steaming it, that's how it fell. I think this is another overlooked pattern that would make a great wardrobe essential.
As you know, silk is a very fluid fabric. I layed it out on top of some old fabric that I would normally use for muslin for more control while cutting. I used narrow hems and french seams (sorry I didn't get any pics of that... the battery died). I wasn't sure how the ruffle would hang, but after steaming it, that's how it fell. I think this is another overlooked pattern that would make a great wardrobe essential.
I've joined The Great Coat Sew-Along started by Marji. I'm very excited about this. I had been planning a coat since last November and now it's the middle of Spring... I know, right! This sew-along starts in July, which is perfect! May is for planning and June is for gathering materials. That way when the weather turns cold, my coats will be hanging in my closet waiting for me.
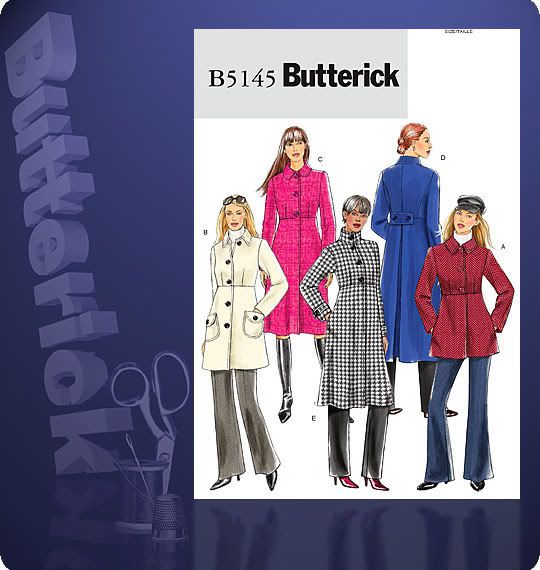
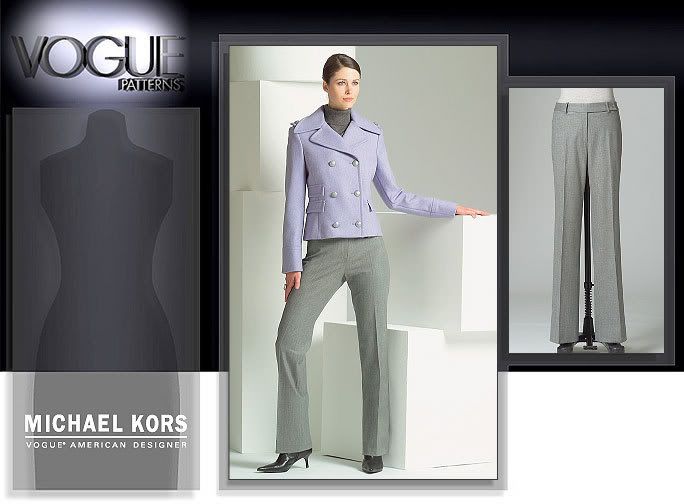
I'm planning on two coats, both inspired by Michael Kors!
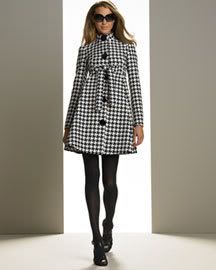
I'll be making this one in a black and ivory houndstooth. I'm using the stand collar and the car coat length (view B).
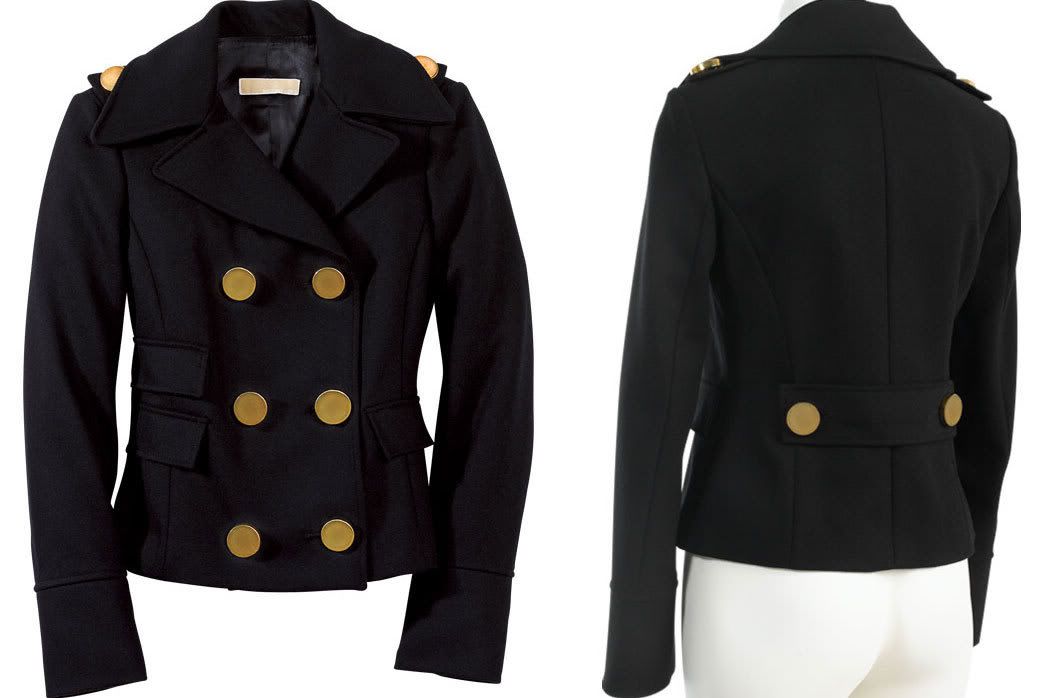
I've had this pattern in my collection for a while now. I plan to make this one in perhaps a lovely orange wool.
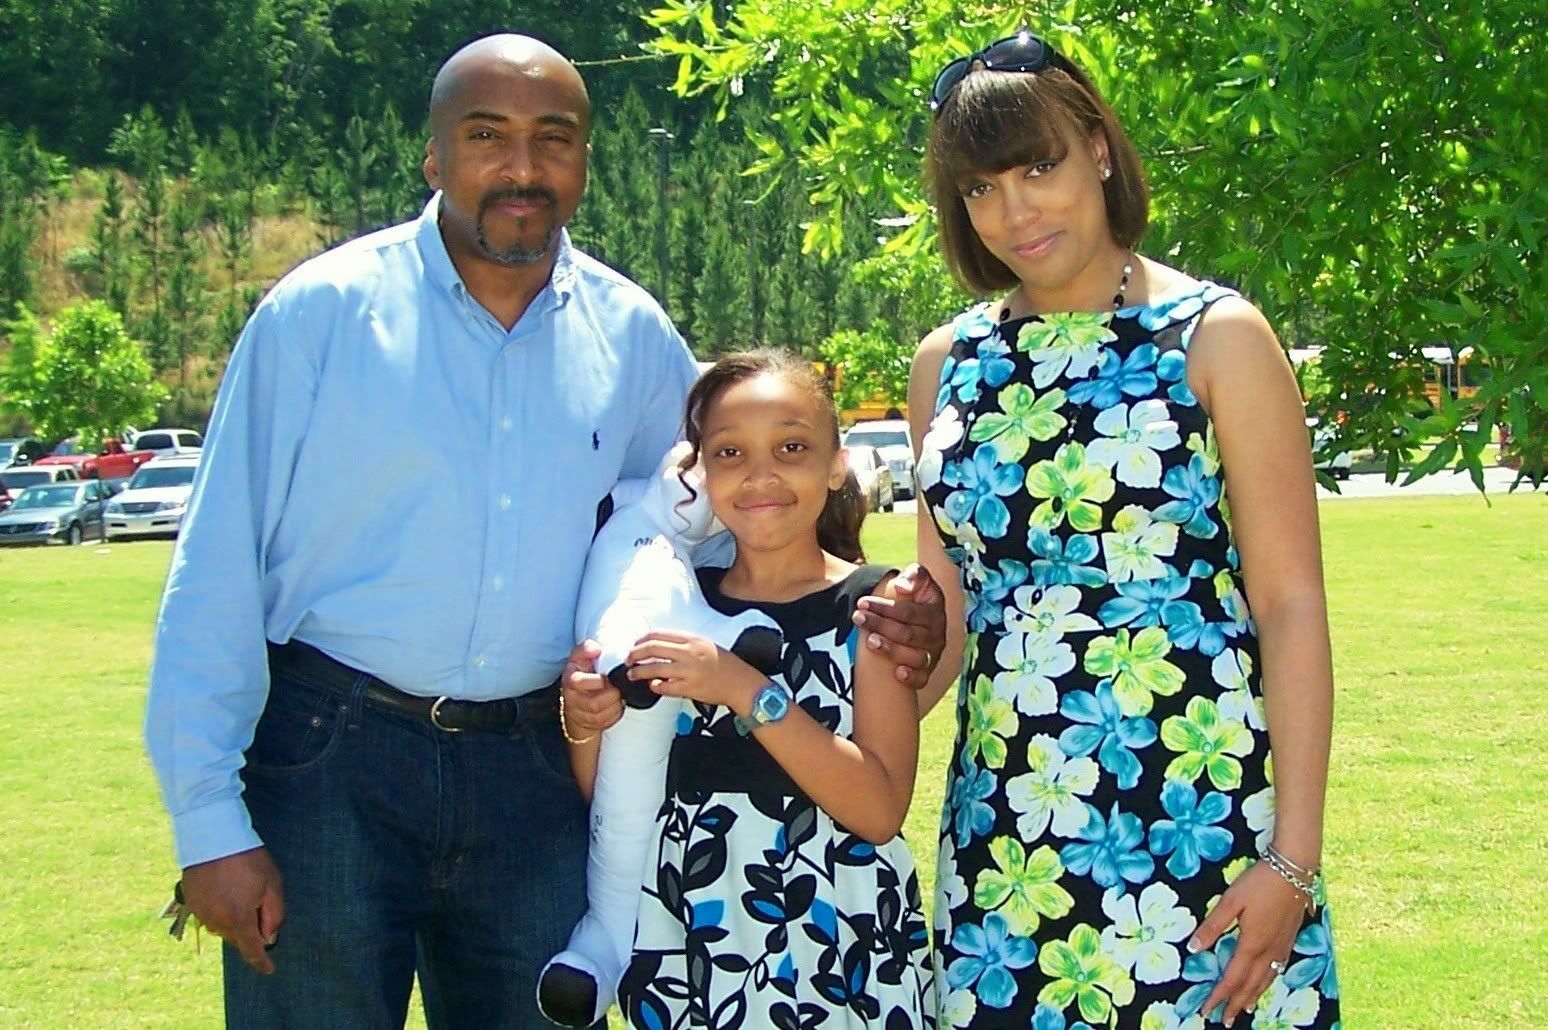
If you don't have a daughter, then you probably don't have a clue how daunting it is shopping for a tween girl. I'm just happy to get my little tomboy out of her jeans and hoodie. This is the inspiration dress that we both decided on.
 Pirouette Lulu Printed Silk Dress - Neiman Marcus
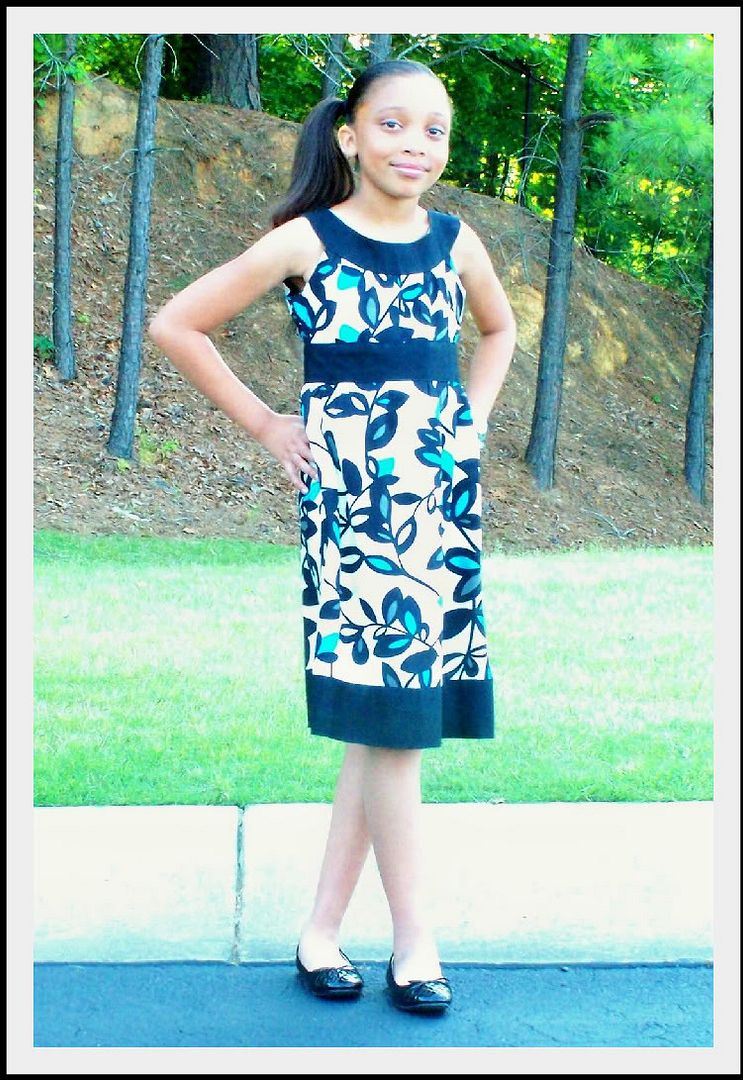
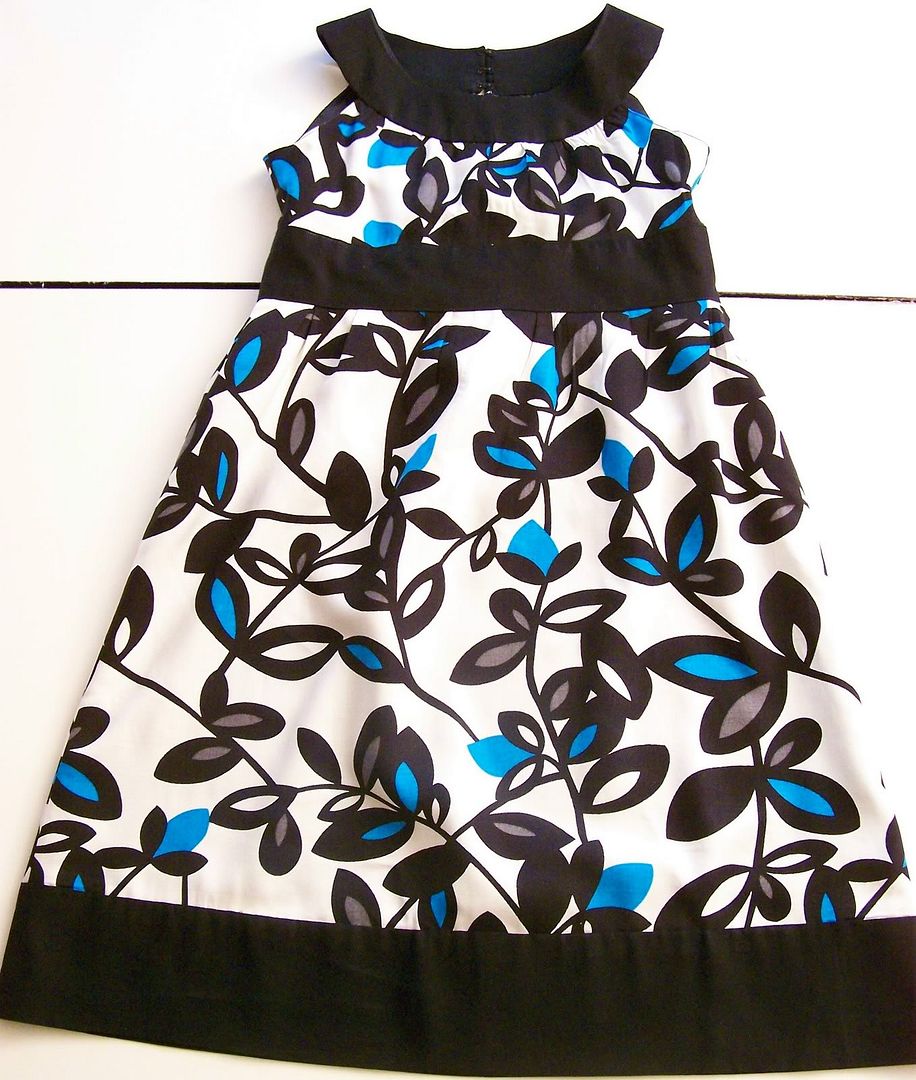
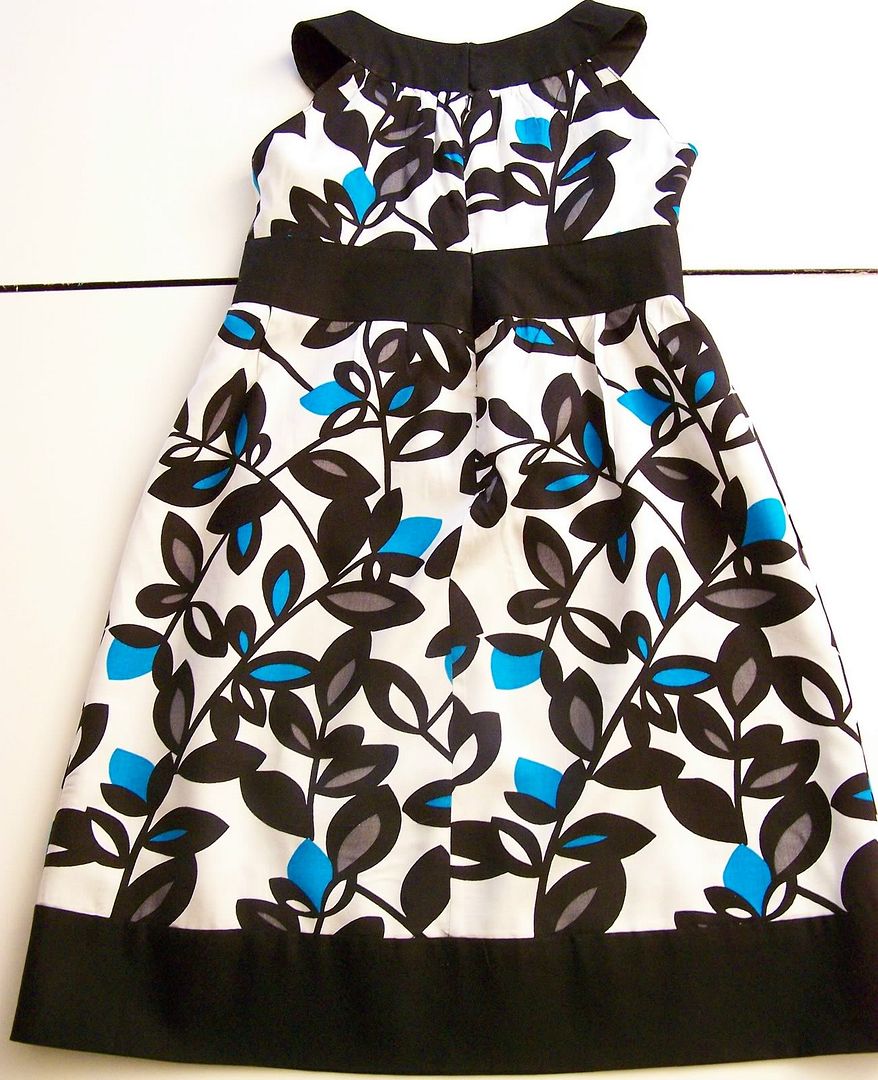
Project Details:
Pattern: McCall's 5616, view B (modified)
Fabric: Rayon Challis and china silk for the lining
Notions: 16" invisible zipper and hook & eyes
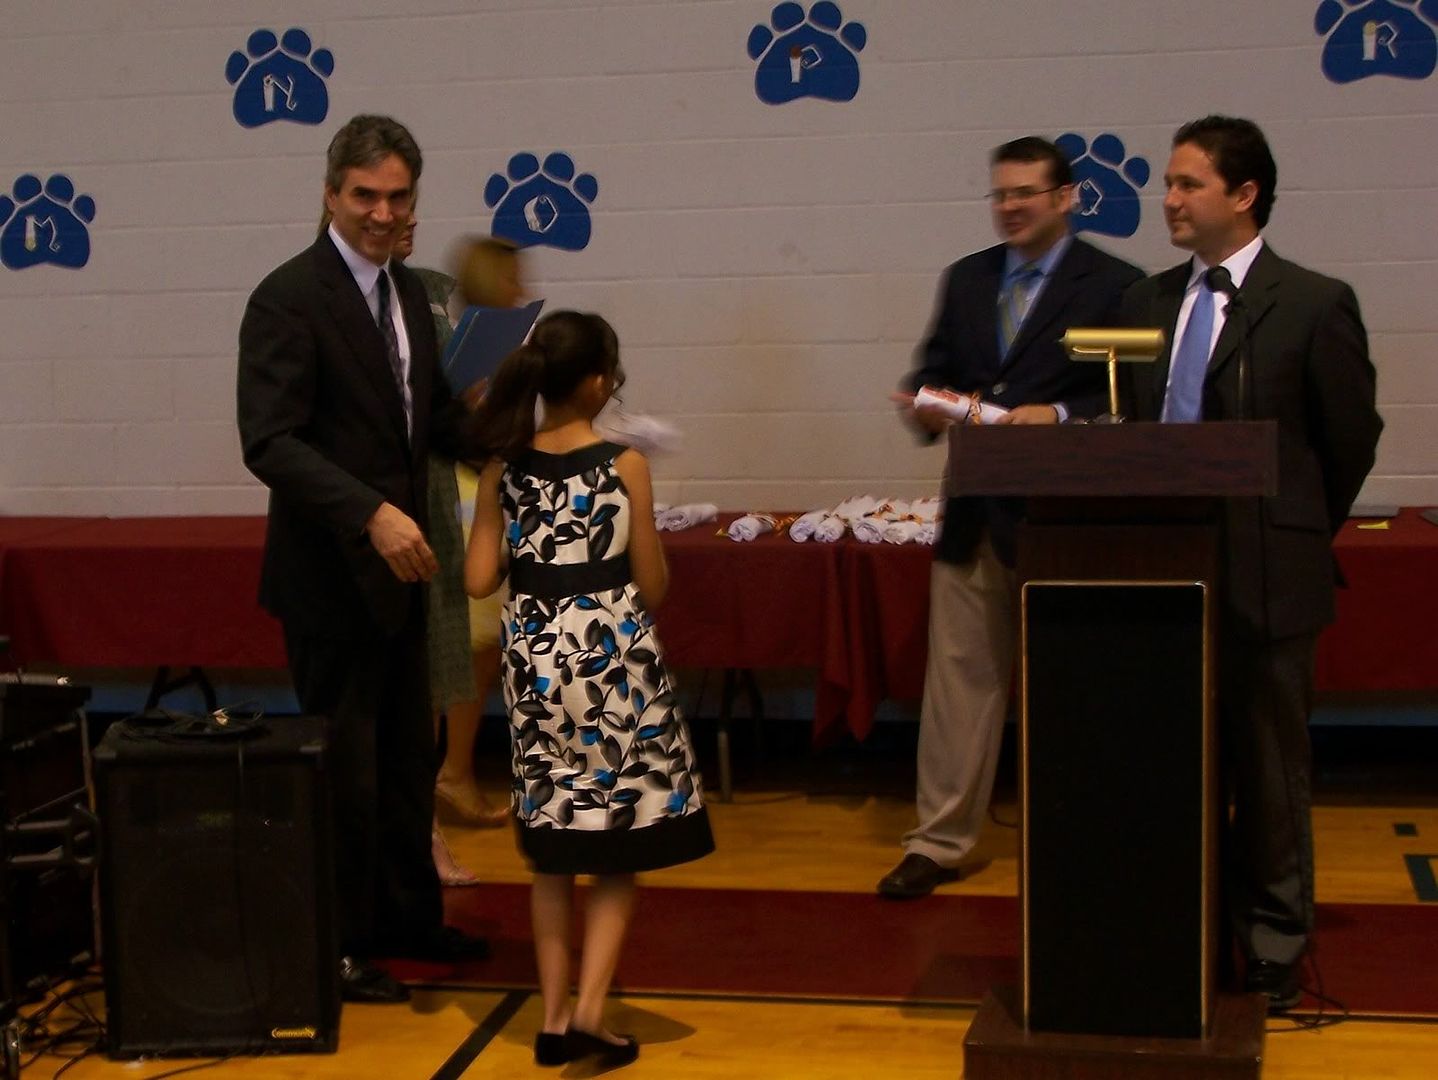
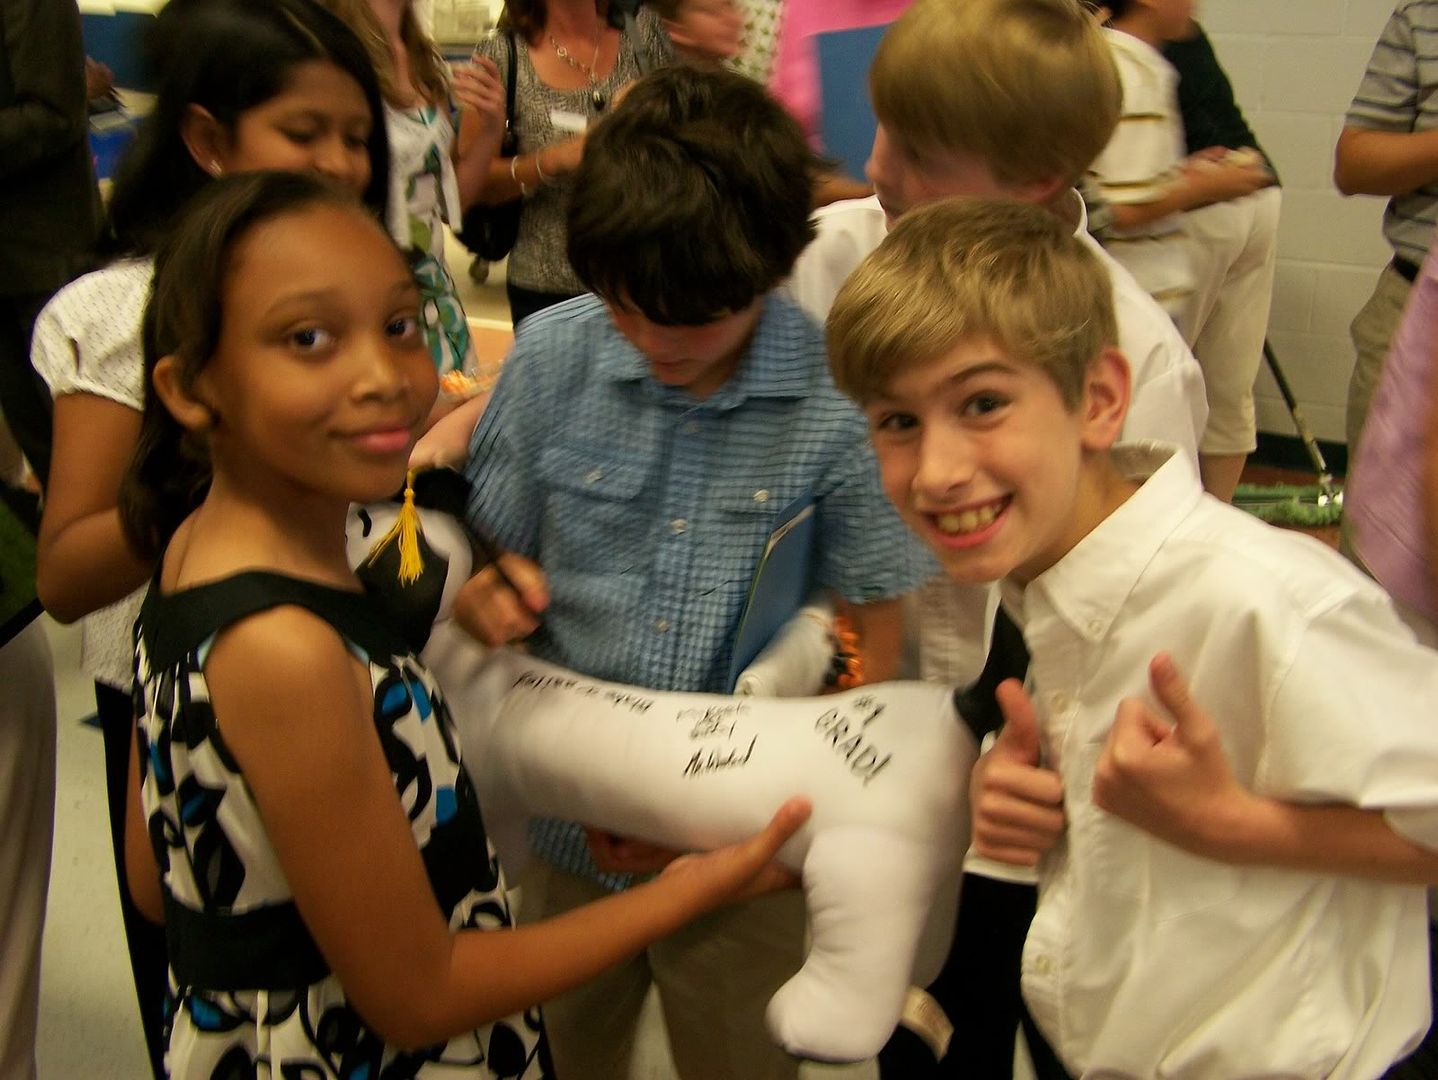
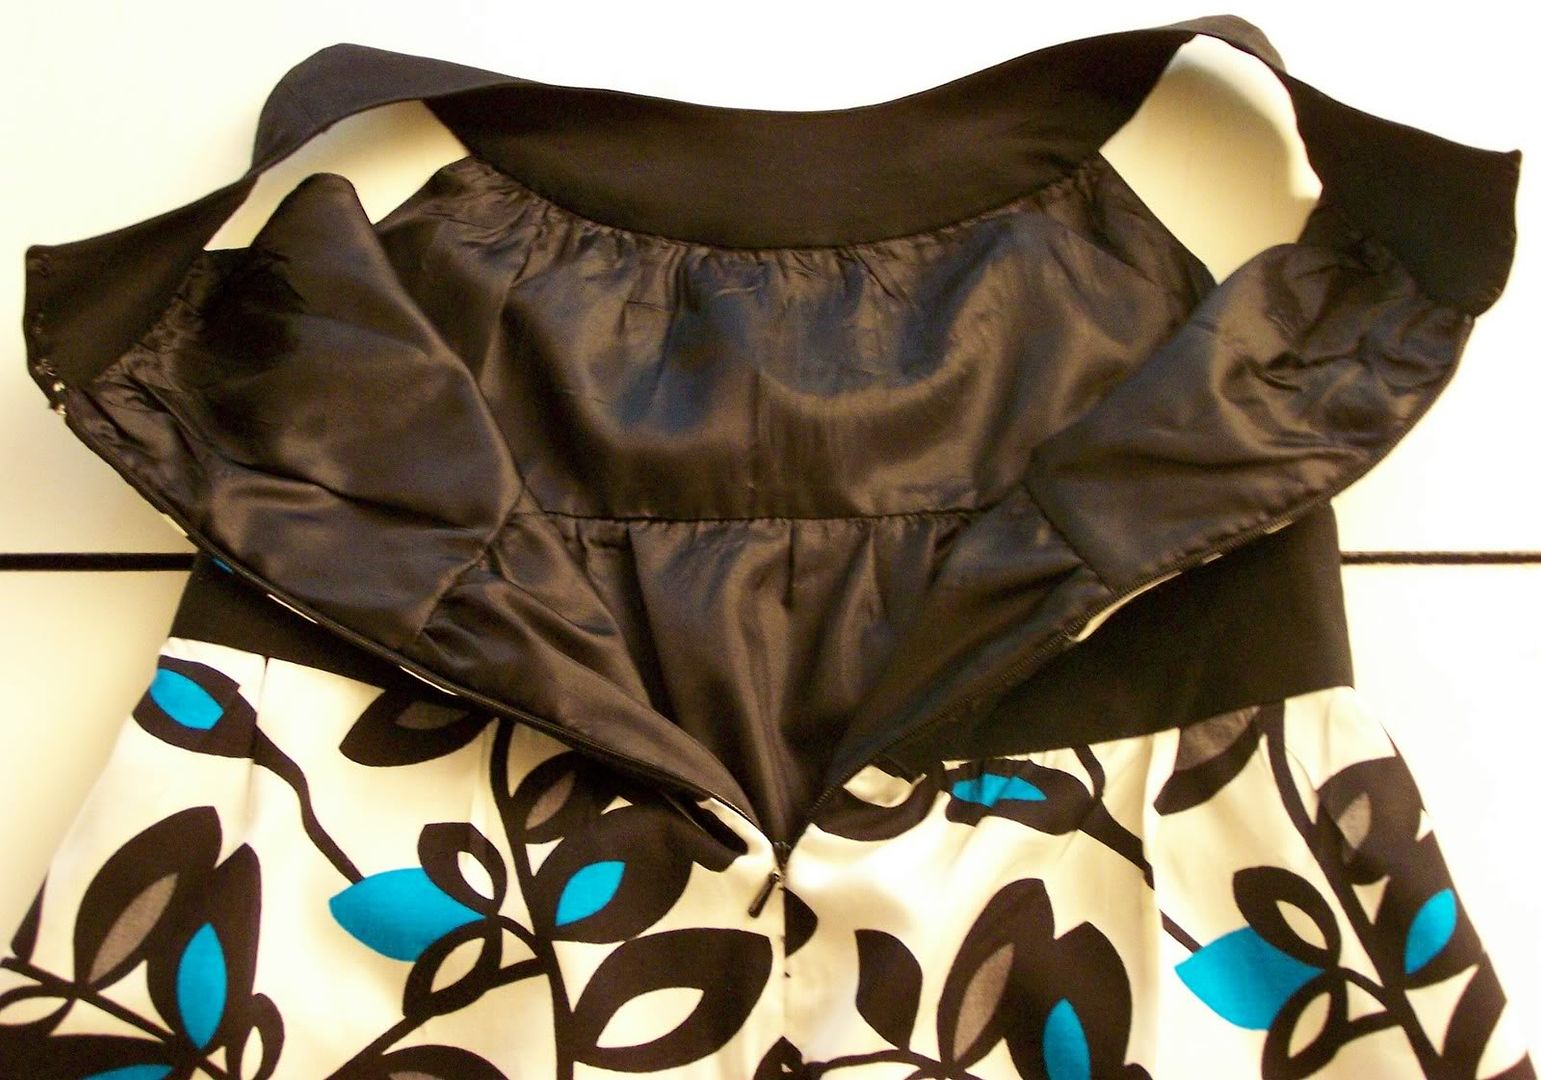
I needed a dress for Mikaela's 5th grade graduation which is Wednesday. I wanted something age appropriate, but also fashionable. Kids can be fashionable too, right? Right. And she wouldn't be my kid if she wasn't! We found a dress on the Neiman's site and I found the McCall's pattern. As typical with all of the Big 4 patterns, this one had a lot of ease. I cut the size 7 in the bodice and graded out to the size 8 in the skirt. I also added 4" to the length. I added a waistband to the outside of the dress and edgestitched.

Project Details
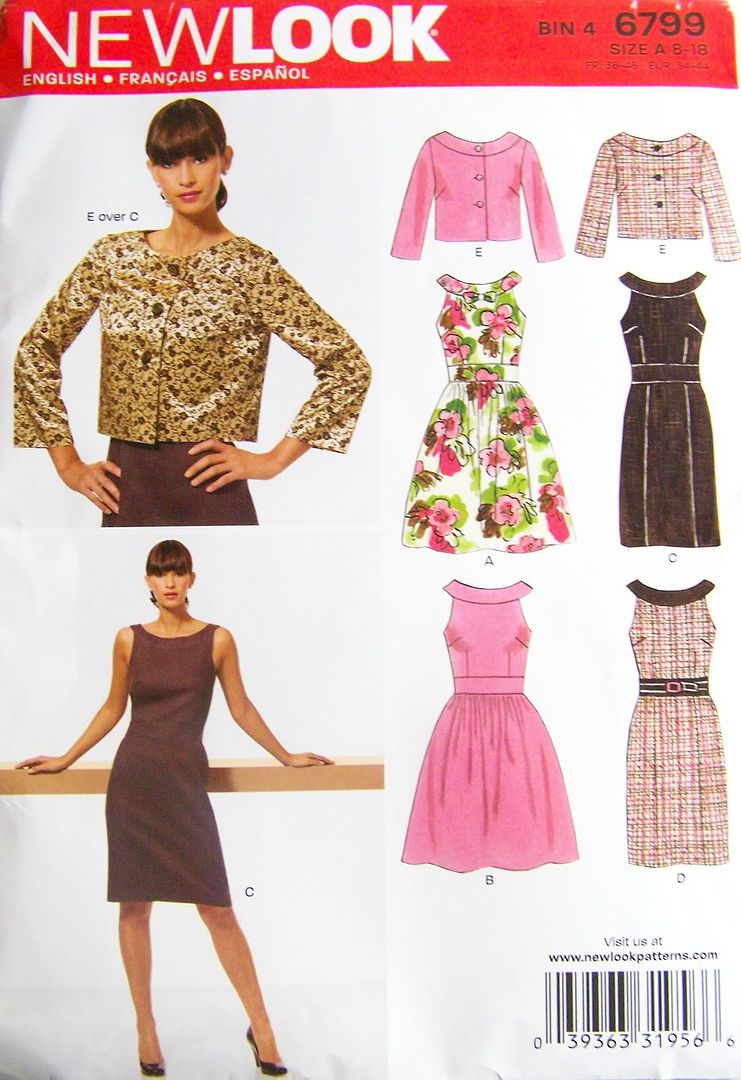
Pattern: New Look 6799, view C
Fabric: floral cotton pique
Notions: 20" invisible zipper; hooks and eyes; hem tape

This is my first piece from my Mini-Wardrobe.
The instructions were very easy to follow... so easy that I barely used them! The drafting of the pattern was fine. The pattern envelope illustration was deceptive. The neckline on the illustration was exaggerated and no where near as wide. It's a good thing there was actually a photograph of an actual dress.
I had to make several pattern alterations. I made a 1" FBA, raised the horizontal dart, graded the skirt up to the next size at the widest point of my hip and added 3" to the skirt length. The pattern instructed for only the bodice to be lined, but I'm a "fully-lined" kinda girl. I eliminated the loop closures and just went for hook and eyes. I made a 1" hem and secured the lining to French vent. I was concerned if my bra straps would show, but they didn't. I still plan to pick up some tiny snaps and add bra strap holders to the shoulder area for extra security. This is a great pattern and I could see this done up in an evening fabric for a great cocktail dress too!

I haven't been motivated at all to participate in any of the S.W.A.P.s or Wardrobe contests until now. Pattern Review.com is sponsoring a Mini-Wardrobe contest:
This is a contest to create a 4-piece wardrobe in 4 weeks. Those pieces should fit one of the following three frameworks:
1) 2 bottoms and 2 tops - 1 may be a jacket OR 2) 1 bottom and 3 tops - 1 (no more than one) may be a jacket OR 3) 1 bottom, 1 dress or jumper (overdress), and 2 tops - 1 may be a jacket. If a jumper is made, it should go with both tops (i.e., function as a bottom). If the dress option is chosen, it need not be worn with the other garments in the wardrobe, however it should tie to the rest of the wardrobe in theme and possibly be compatible with the same handbag or shoes or accessories.
I've decided to go with Option #3.
Dress - New Look 6799, view C - floral pique
Pants & Jacket - Vogue 1053 - black dupioni silk
Top - Butterick 4987, view C - light blue silk
With only 2 weeks left, it's doubtful that I will finish on time, but I will finish!
As sewists and seamstresses, would you be willing to make a "custom dress" like THIS?
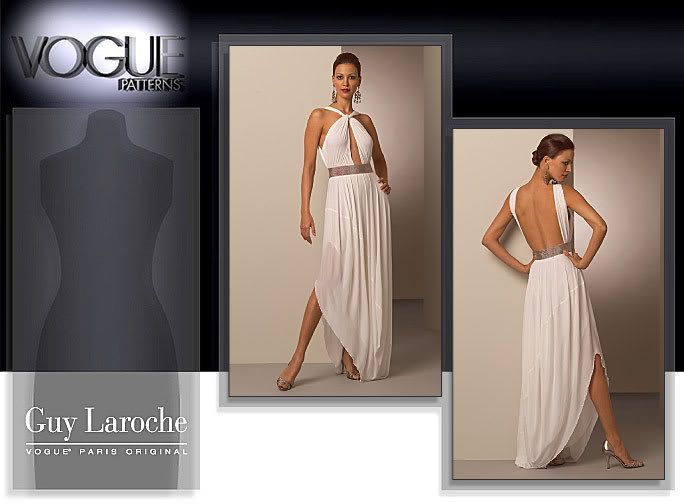
I WOULD NOT! I don't believe in making ANYTHING, for ANYONE, for ANY AMOUNT of money that would compromise my integrity. I was having a conversation with one of the ladies that works in one of my local Hancock's a few weeks ago about prom season. She made it clear in no uncertain terms that if they want it and they're paying for it, she would make it. Not me.
Big question... where are the parents when these young ladies are putting on these stripper dresses to attend prom? Amber would get broken kneecaps if she attempted to wear something like that.
Remember when this pattern debuted?
Panic ensued throughout sewing blogland that all the girls would want this dress. This would have been a much better option... and that's a sad, sad thing. *SIGH*
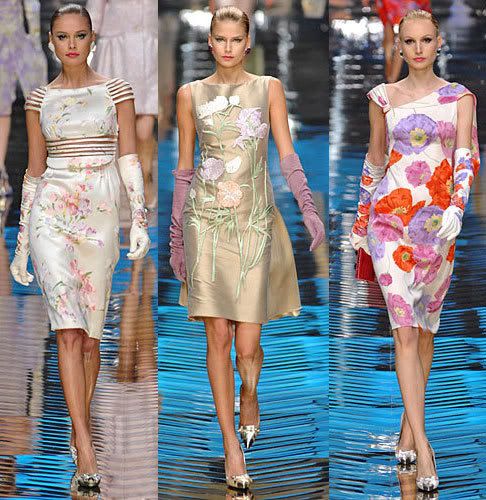
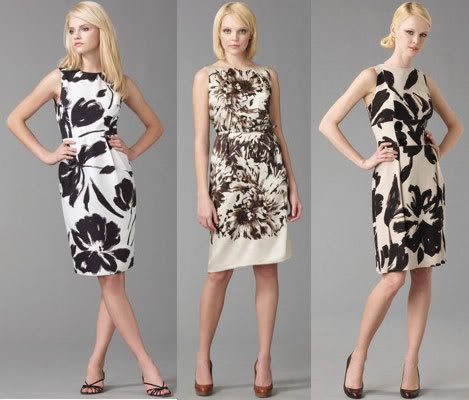 All from Saks. From l to r: Michael Kors, MaxMara, Chetta B.
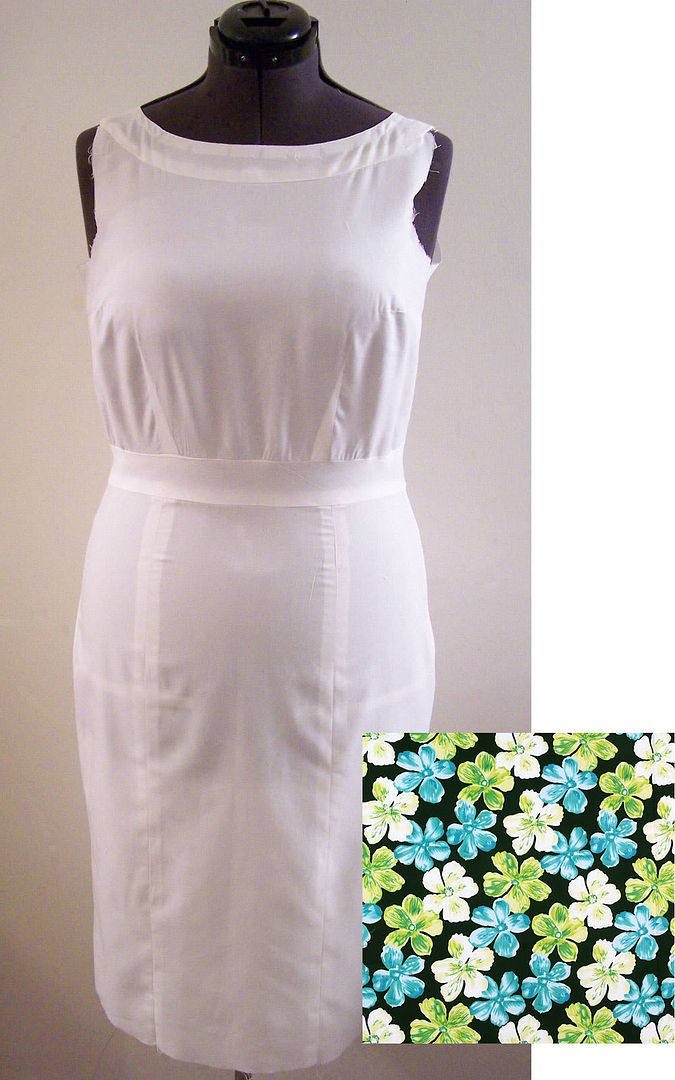
Here is my muslin. I'm using a floral pique. I had to do a 1" FBA, raise the horizontal darts and grade the skirt up to the next size at the widest point of my hip.
There are times when I'm working on each project that I want to send it to the trash. I go through periods when I doubt the way it looks or doubt the success of a technique I've used. I've had to put something down for a day or three and comeback with a fresh perspective. Sometimes my new outlook includes ripping apart every seam and starting over. Do any of you ever go through this too?
I've been tagged by Colette and Leslie with this literary meme:
1. Pick up the nearest book.
2. Open to page 123.
3. Find the fifth sentence.
4. Post the next three sentences.
5.Tag five people, and acknowledge who tagged you. (I think everyone in blogdom has already been tagged.)
"Become a Better You" -- Joel Osteen
Page 123:
1. Pick up the nearest book.
2. Open to page 123.
3. Find the fifth sentence.
4. Post the next three sentences.
5.
"Become a Better You" -- Joel Osteen
Page 123:
"You can do what God's called you to do. You're talented. You're creative."Wow... what a message!
 Project Details:
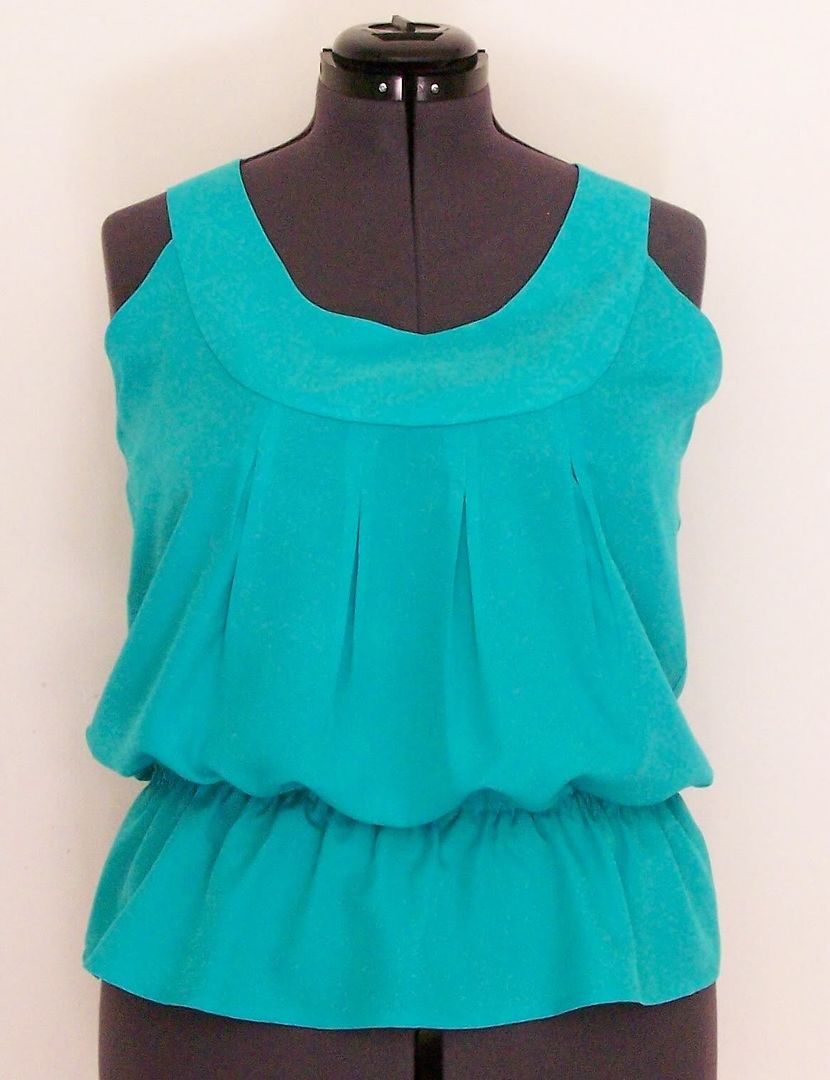
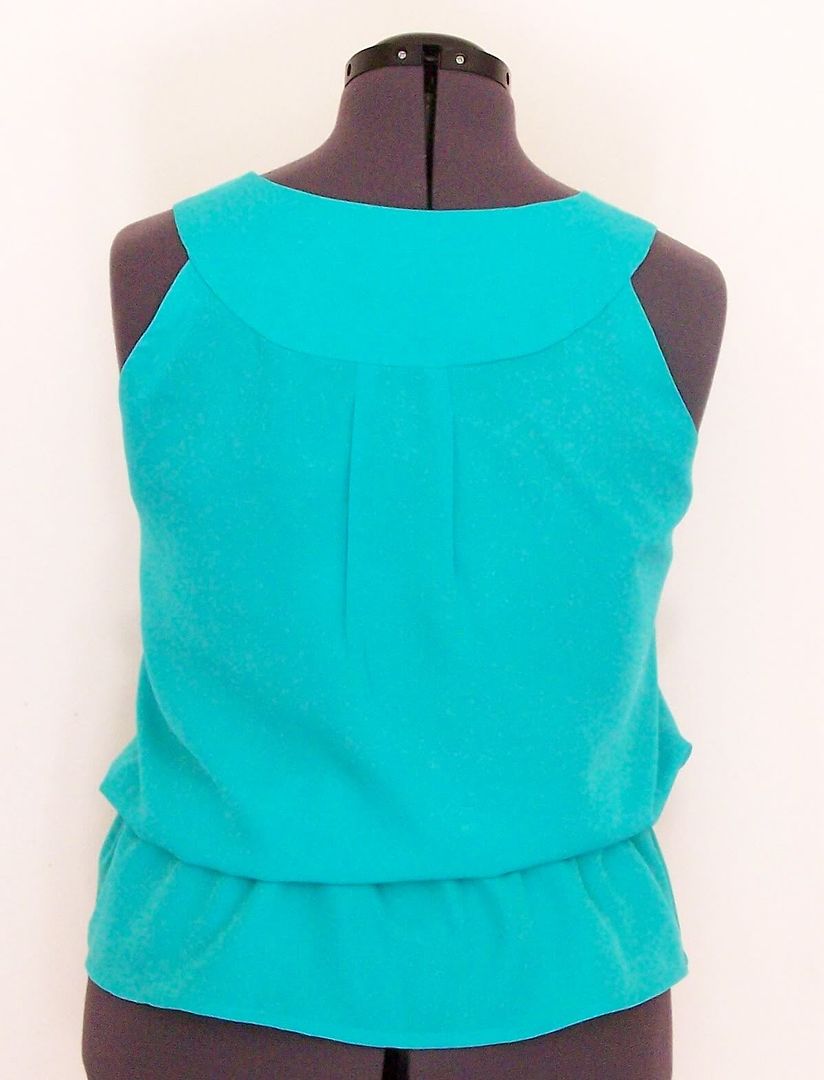
Pattern: Simplicity 2933, view C
Fabric: Peachskin (100% polyester)
Notion: 1/2" single fold bias tape; 3/8" elastic
I first fell in love with this fabric... it was a great price. The bolt label said "peachskin - 100% polyester", but it felt like a washed silk. I didn't know what pattern I would use, so I bought my standard 2 yards. I was in need of more warm weather tops and discovered this one. This was a very simple pattern that can be whipped up in an afternoon. I put this one on the same scale as Simplicity 2938.
 I didn't have to make any alterations to the pattern. I did however use french seams. I also used elastic at the waistline instead of the suggested ties. I didn't machine stitch my facings, I handstitched them for a cleaner finish on the inside. I like my garments to look good inside and out! I really like the pleats, front and back... I think they really make the top look interesting. Even though I doubt if I'll ever sew this again, I recommend this top as a great addition to a Spring/Summer wardrobe.
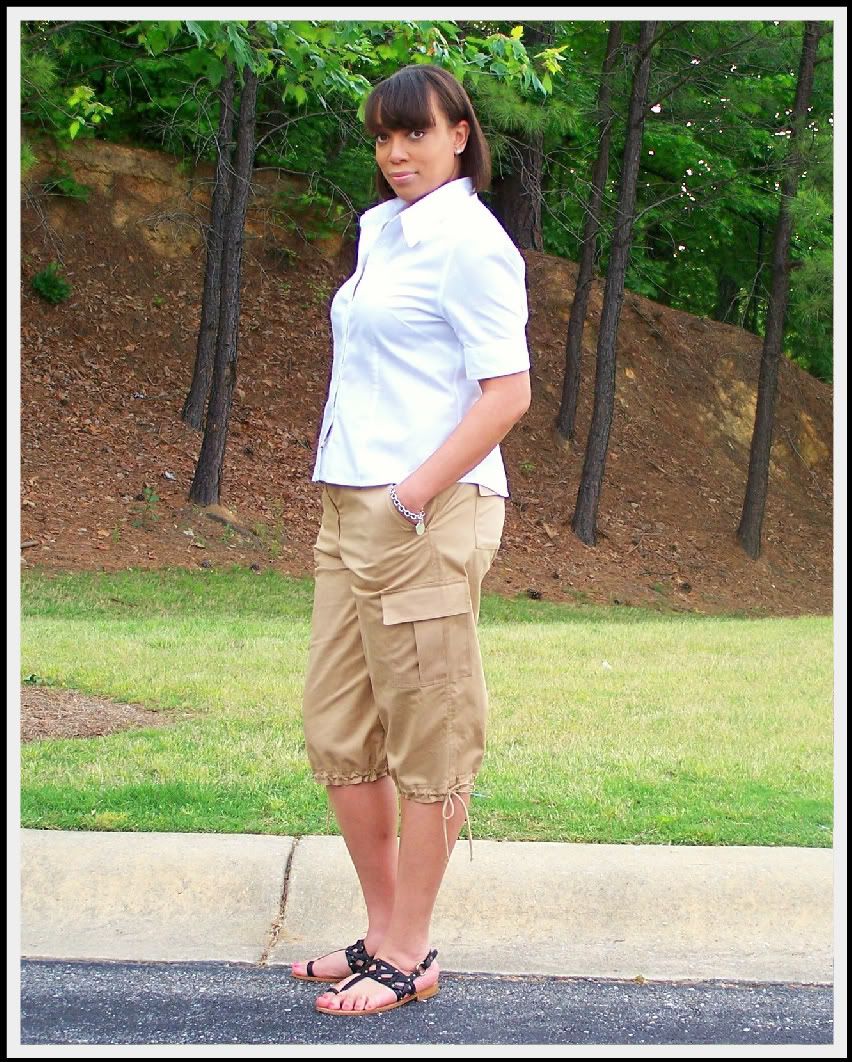
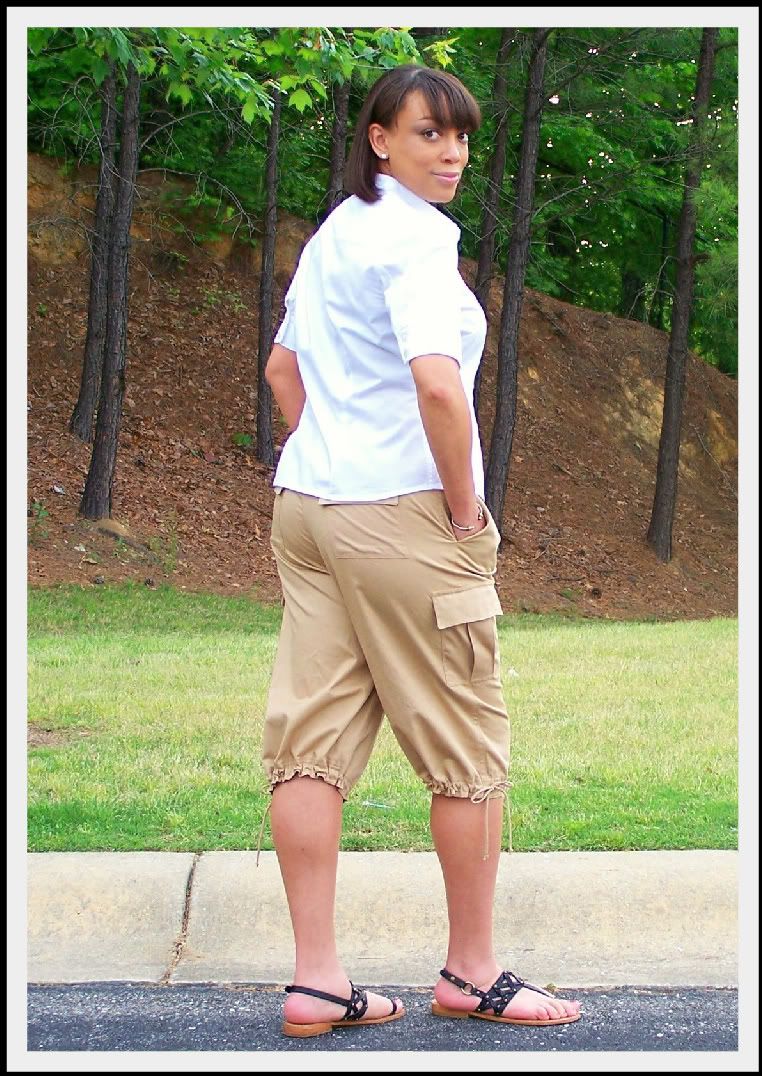
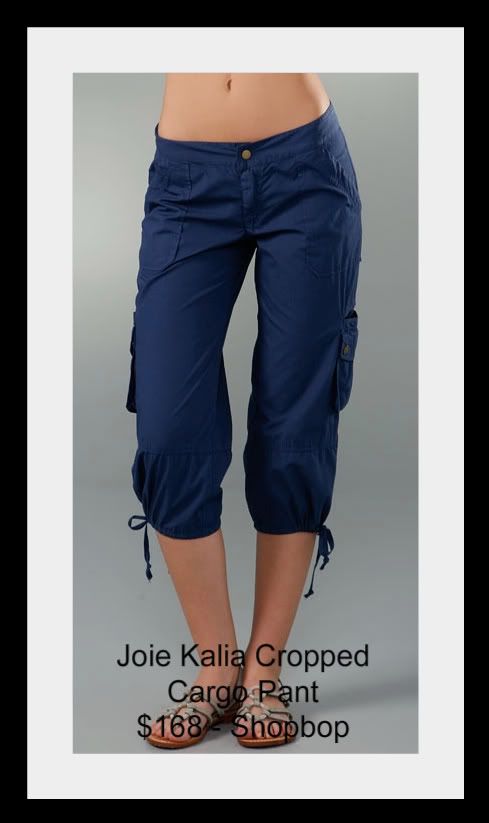
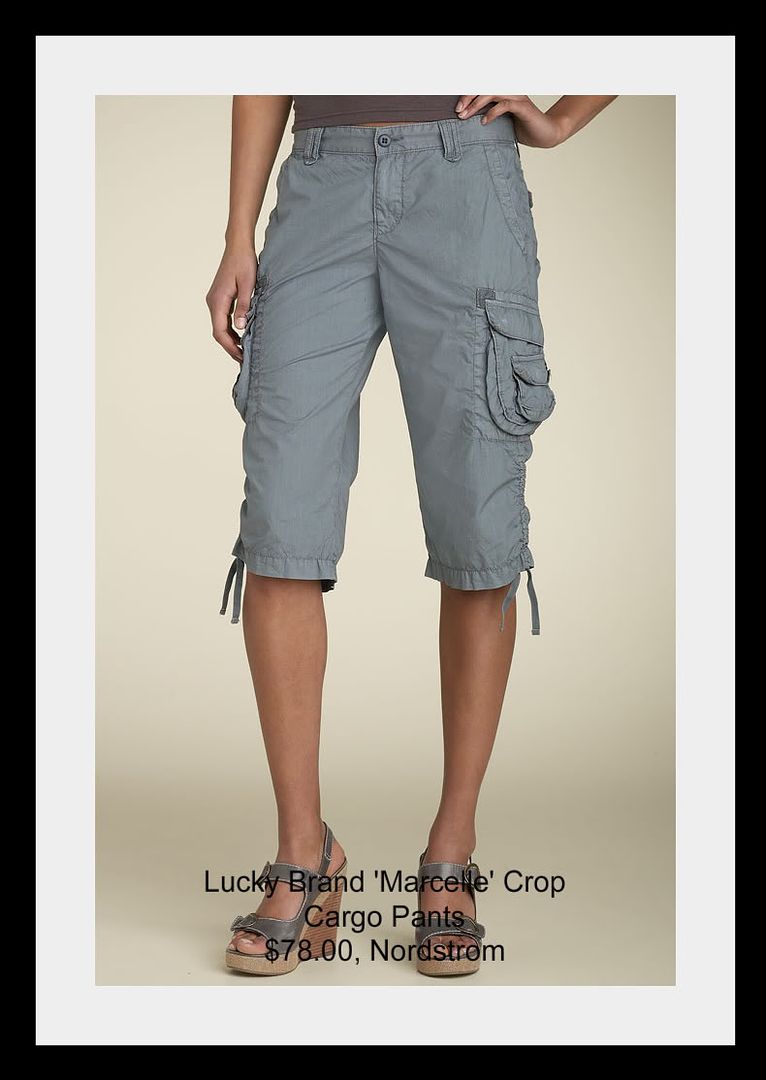
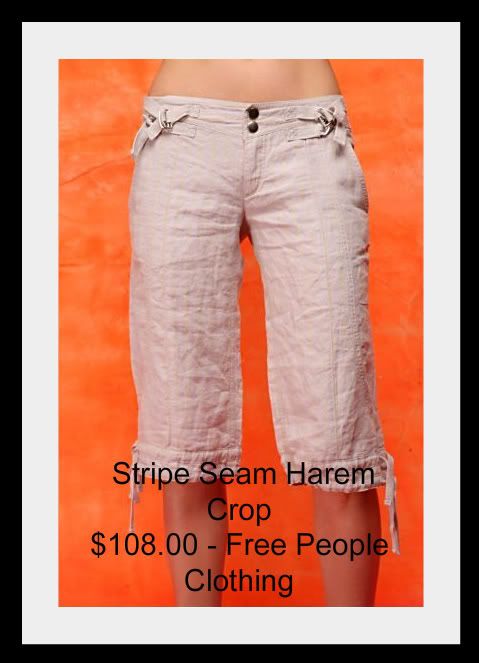
Cropped Cargo Pants
very Safari Chic!
very Safari Chic!
Project Details
Pattern: McCall 5393, View B (modified)
Fabric: British Khaki Chino
Notions: 7" zipper; 5/8" button
 Description: Pants have fly front zipper, slanted side pockets, flaps, two patch pocket variations, belt carriers, casing, drawstring waist, casing and drawstring lower edges.
I had been thinking that I really needed to add to my casual, casual wardrobe... you know the kind of thing you would wear if you were going to a concert in the park, the lake or on a picnic or cookout. I tragically don't have enough clothing like that and hate turning to athletic wear as my only choice. I did my usual and headed to the mall to get ideas and inspiration. I like to try things on before I take the time to make them. My first stop was to grab a pair of capris with the drawstrings in the lower edge. It was pure comedy how dumpy they made me look. Living in the suburbs, I see way too many women that choose capri pants as their go to casual wear. You know what else I realized? Most of the women wearing them, shouldn't be. It's just something about having pants stop below the calf. On me, they look like I just couldn't find pants in the right length. Ok... next. I then tried on a shorter pair, that hit right below the knee... hmmm... much better. I think the more leg you show, the more flattering the look will be. I knew I had glanced a pattern similar to the style I'd tried, so the search began. I chose this pattern.
In order to the get the look I wanted, I had to shorten view B. I cut off around 6 inches. These pants are constructed like most pants, with the exception of no waistband, only facings. I know they are drawstring pants, but as usual with the Big 4, there was an excessive amount of ease at the waist. I had to take them in about an inch at the CB. I also cut the back facing in half to create a CB seam. After the fact, I realized that I should have just added darts to each side. I'll do that next time if I make another pair. Not that I'm going to use them, but I really like the back pockets and the side pockets. The next modification I made was the casing for the lower edge. The instructions stated when sewing the seam of the outer leg, to leave an open space for the drawstring. I didn't like the look of that. I decided that I would create buttonholes on each side of the seam for the drawstring like on the waistband. Almost forgot... I didn't use the twill tape. I couldn't find any that was exactly the same color and I didn't want any type of contrast. I made fabric ties by cutting bias strips... pretty much the same way you would construct a spaghetti strap.
These are very comfy, casual and I'll probably make another pair.












.JPG)


