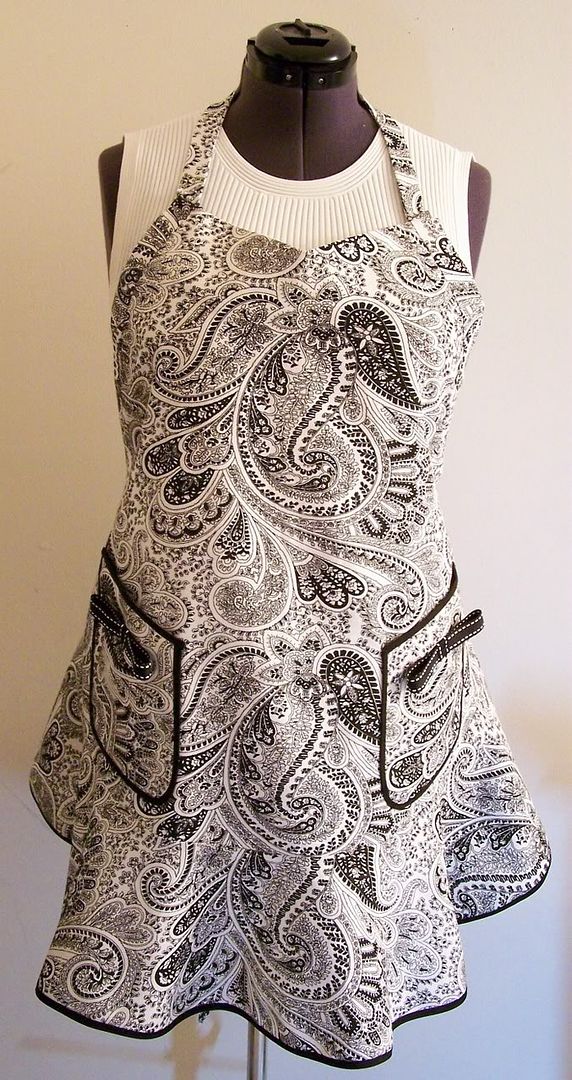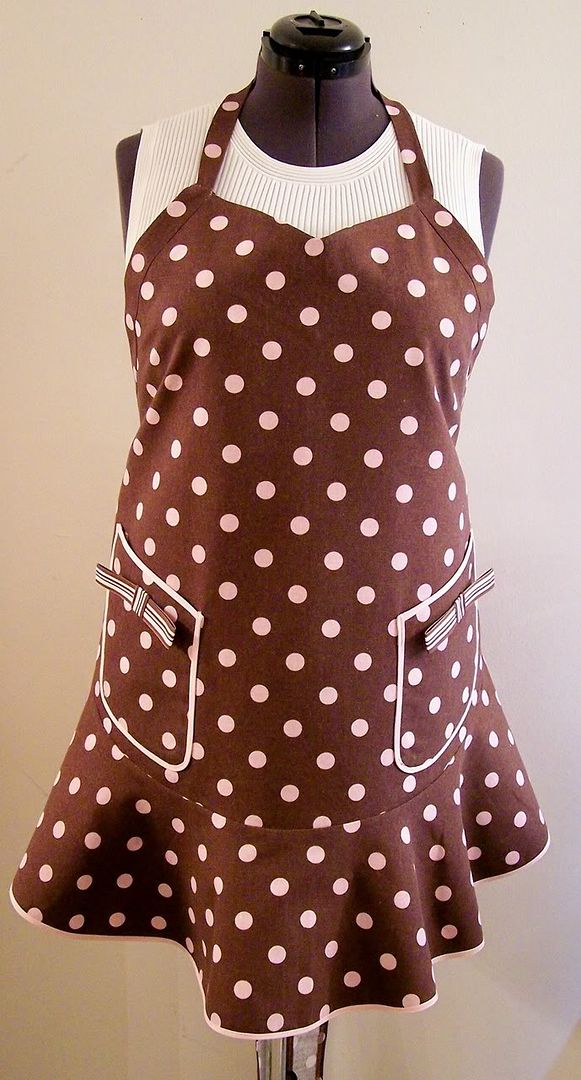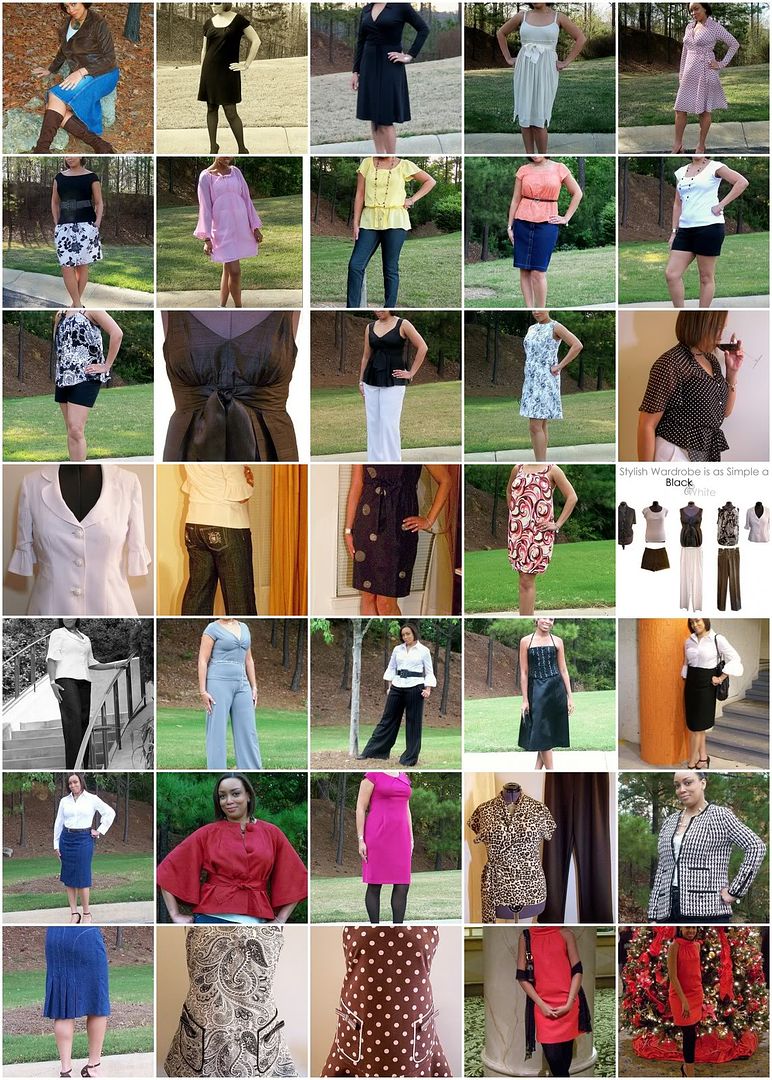
1. Vogue 2923 - DKNY Jacket, 2. Simplicity 4045 - ~The LBD~, 3. The Wrapdress, 4. Vogue 2942 - Donna Karan Dress, 5. RTW Knockoff - DVF, 6. Vogue 2951 - DKNY Skirt, 7. Amber's "Cha-Cha-Cha" Dress, 8. Vogue 8330 - Jeans, 9. Orange you glad it's Spring, 10. Scoop Neck T-shirt & Cuffed Shorts, 11. Flowy Camisole & Cuffed Shorts, 12. Simplicity 3867 - Silk Empire Waist Tunic, 13. Simplicity 4135 - White Linen Pants, 14. Simplicity3744 - Black & White Shift Dress, 15. Simplicity 4112 - Black & White Polka Dot Georgette Top, 16. McCall's 5329, 17. McCall's 5329 & 5142, 18. Simplicity 3874, 19. Simplicity 3799 - Psychedelic Shift!, 20. PR Wardrobe Contest 2007, 21. Stairway to Heaven, 22. Simplicity 3800, 23. Simplicity 3686, 24. Amber's Homecoming Dress 2007, 25. Vogue 8425 - The High-Waisted Skirt, 26. Simplicity 3684, 27. Simplicity 3631, 28. BWOF 09-2007-117 - front, 29. Butterick 5101 -- View A & E, 30. The "CHANEL" Jacket, 31. Vogue 8426, 32. Black & White Paisley, 33. Brown & Pink Polka Dots, 34. McCall's 5512, 35. McCall's 5512
Purge My Closet -- Donate all things that no longer fit well or are dated.Done. I donated 4 lawn & garden size Hefty bags to the Salvation Army.- Re-build My Closet -- Start the year off sewing must have items and basics (i.e. black trousers, a black suit with skirt and pants, more white shirts, cute activewear, a fabulous LBD).
- Purge My Pattern Collection -- Time to get rid of the "what the hell were you thinking" patterns. Ninety-nine cents sales get you everytime.
- Improve My Tailoring Skills -- Striving for the "perfect" fit is an ongoing battle.
- Make Another CHANEL-Inspired Jacket -- I need one for Spring!
- S.W.A.P. -- I may not necessarily enter another contest (that was stressful, but worth it), but I will try to ALWAYS sew with a plan.
- Draping -- I've been wanting to learn draping for about a year or so. It's about time I get on that.
- Drafting -- I need to get on this too! I'll be looking for classes or seminars.
- Embroidery -- I will MAKE myself use that machine.
- Knitting -- Not sewing, but I will try to make time to add it in.
I had to tell you all about my new toy tool. I absolutely love it and I don't know how I have lived without it while sewing. As a sewist, I spend as much time (if not more) pressing as I do at the sewing machine. A good, reliable iron is a must. I decided that it was time for an upgrade. I had been considering for months on getting a gravity feed iron. It's just not fun for me running back and forth to the sink in order to fill an ordinary household iron that only holds around 4 ounces of water.
Product: Consew Silver Star CES-300 Gravity Feed Iron.
Specifications:
- Recessed Thumb Switch For Steam
- Large Heat Shield For Hand
- Water Bottle Included
- Non-Stick Iron Shoe Soleplate Cover Included
- Iron Rest Included
- Bag of Demineralizer included
- U/L approved thermostat
- High quality steam distribution
- Hard anodized aluminum sole plate
- Comfortable urethane handle
- Convenient soft-touch button switch & rotary heat dial
- Heat shield for added protection during long use
- Modern body style - All black
- 120 Volts
- 1000 Watts
- 4.6 lbs
Gravity feed irons work by using a water bottle that holds around 1 gallon of water that is suspended 3 feet (or more) above the iron. It is connected by a silicon hose to let water dribble down to the iron as you press the thumb switch which creates the steam. The iron has an on/off switch. The temperature dial is set to "4" and it takes around 10 minutes to heat up. When not ironing/pressing, the iron ALWAYS sits face down on the silicone iron rest.
DO NOT STAND ON IT'S BACK!!!
Another important thing is the Demineralizer. The demineralizer is poured into the water bottle and settles on the bottom and is used to filter the water. The demineralizer extends the life of the iron and prevents calcium build-up. When the demineralizer changes from blue to brown, it should be replaced. I'm playing it extra safe by using the demineralizer and distilled water.
One thing that should be considered before purchasing this iron is that it's quite heavy. I can really feel it in my shoulder after using it for a while. But the one good thing about this is you don't have to press as hard as you would with a basic iron.
Other things I noticed is that when you are using the iron for a period of time, the handle can get quite warm. Also, I was a little excited to have the iron and noticed that if the thumb switch is pressed vigorously, the iron will "spit". But since the water is filtered and the iron is clean, there is no staining to worry about. I've been using it (a lot) for the last couple of days and I have no complaints.
and all through the house
No sewing had been done (for days), not even a blouse!
With all of the cake I have nibbled,
And eggnog lattes,
I may be changing my measurements
If they've gone to my waist!
ROFL! How was your Christmas? Ours was fabulous. Saturday and Sunday, I ran around doing the last minute shopping. On Monday, I baked the Southern Comfort Cake (again)... this is turning out to be a family favorite. I also baked a fabulous Red Velvet Cake. I made Gumbo for Christmas Eve and started the prep work for our Christmas meal. Later that night, we utilized the wonderful cutting table and finished wrapping presents.
By the time I got up Christmas morning, the kids were already up and it looked as if FAO Schwartz had exploded in the living room! We all got plenty of loot and we're very happy! Oh, my menu:
Standing Rib Roast
Potatoes Gratin
Green Beans with Shallots
Gumbo
Red Velvet Cake
Southern Comfort Cake
We caught the 3:50 matinee for "The Great Debaters". This movie now holds the title for THE BEST MOVIE I've seen this year!
How was your holiday?
Project Details
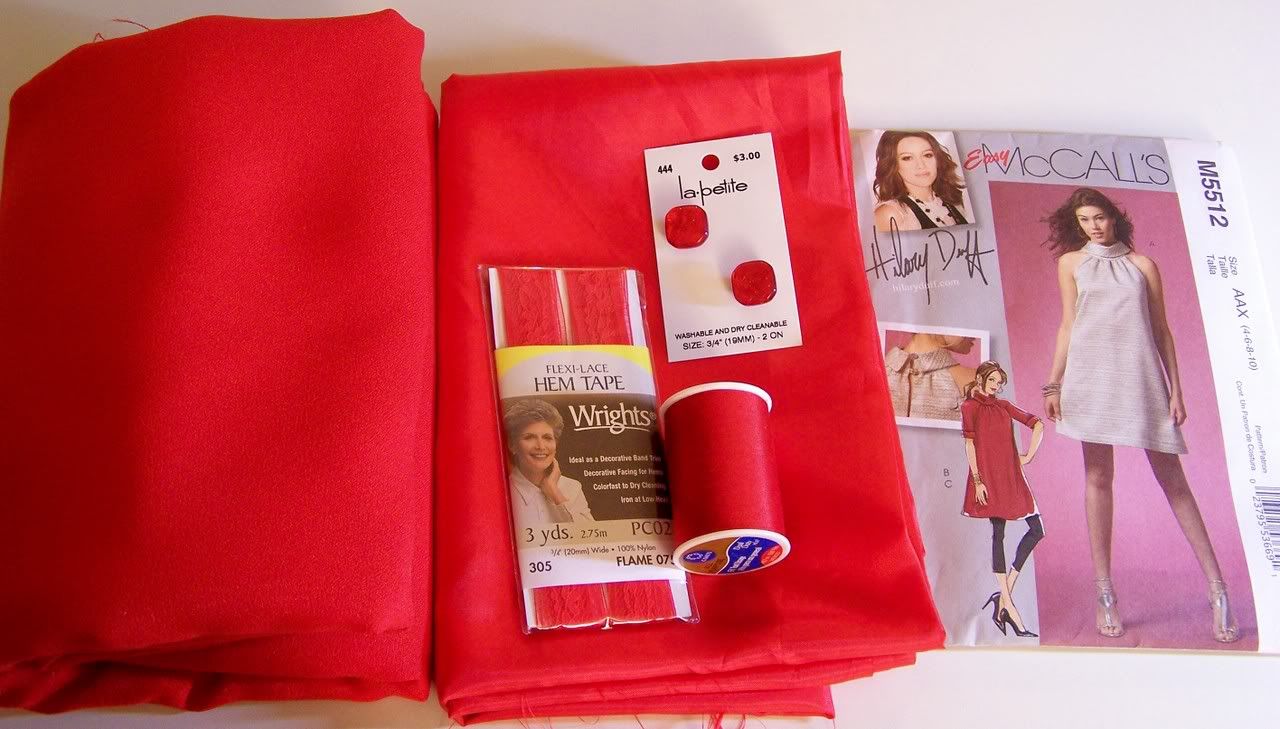
Pattern: McCall's 5512, view A
Fabric:
Shell: 100% Wool Crepe
Lining: China Silk (100% polyester)
Notions: Two 5/8" buttons
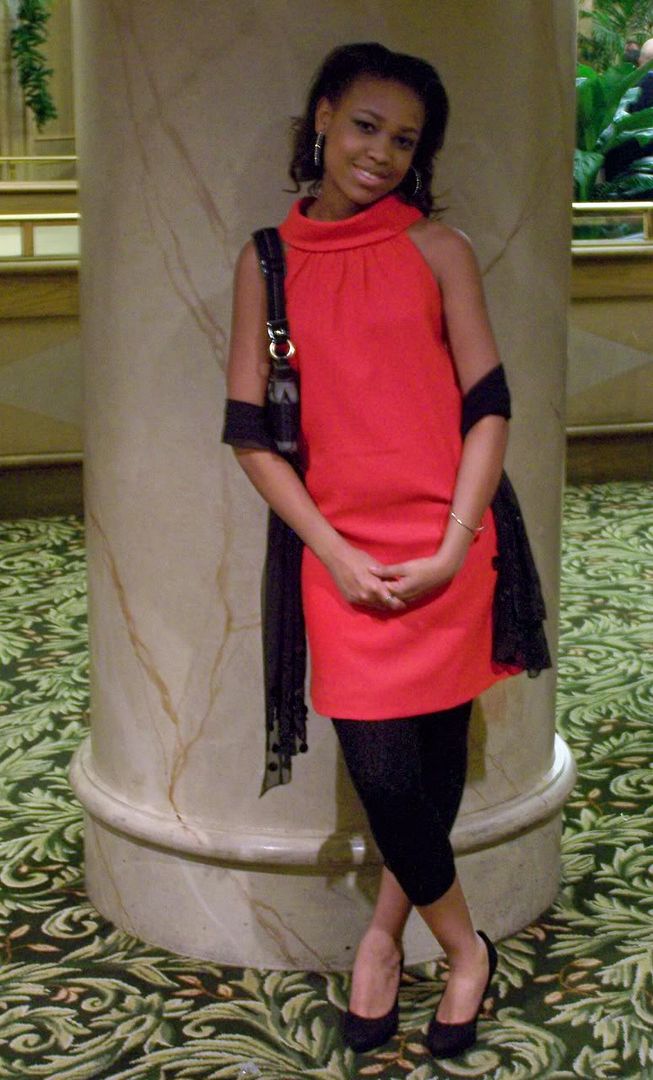
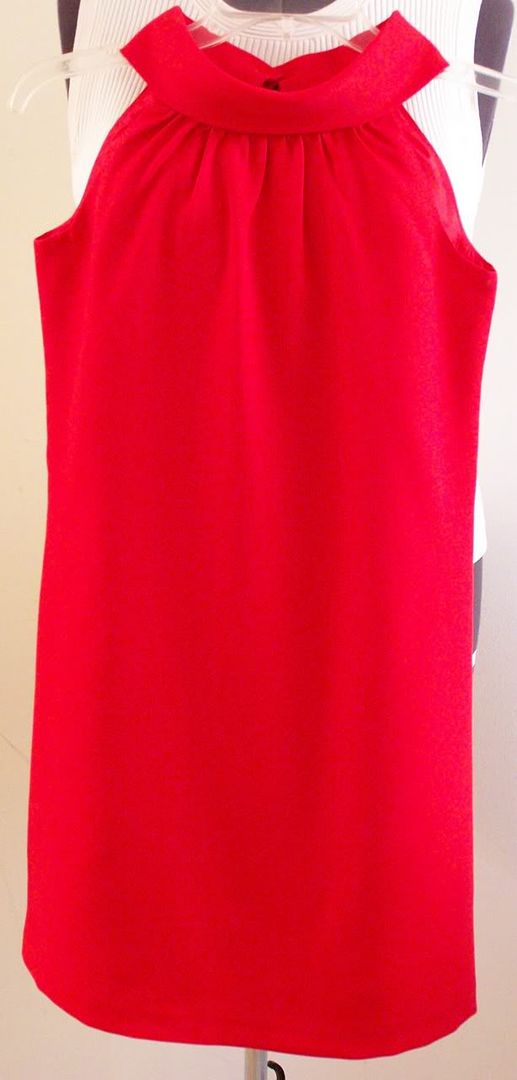
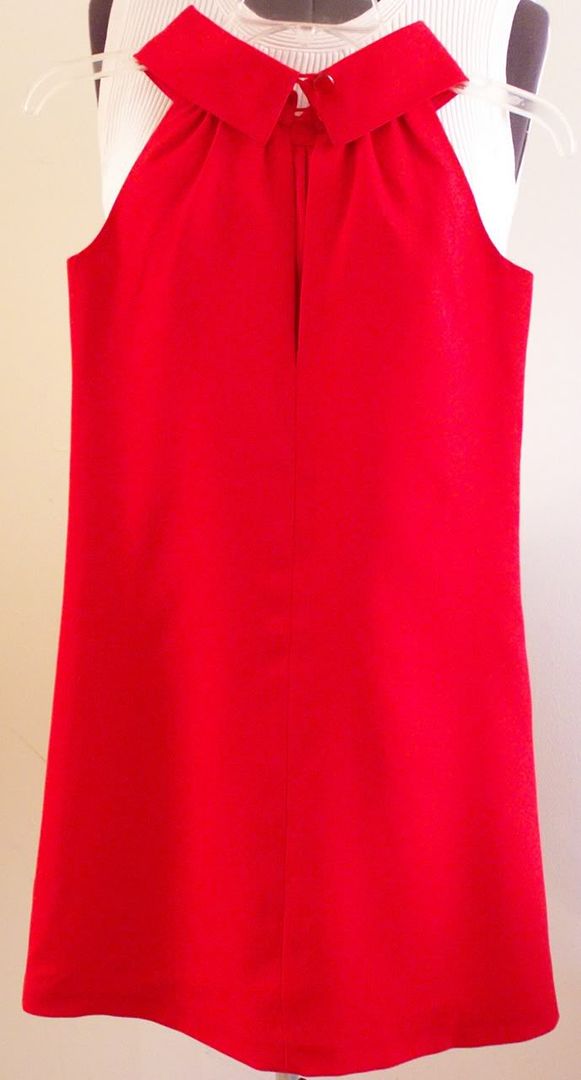
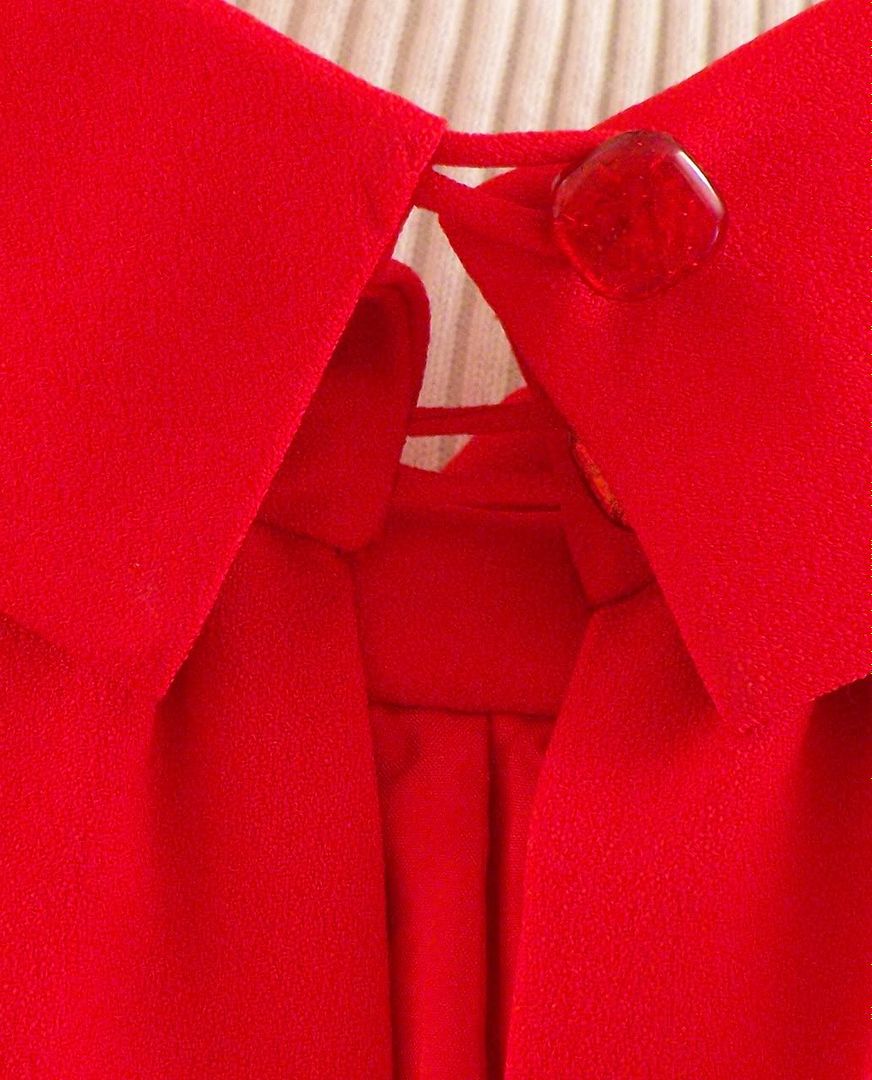
Description: Lined, loose fitting, A-line dress, with cut-in shoulders, 5" above mid-knee, has gathered neckline, back opening and bias turned down collar with button and fabric loops.
This dress was very easy... it only took a few hours in an afternoon to complete it. This dress only had 6 fabric pieces (front, back, under and upper collar and the front and back lining pieces). I cut a size 4 above waist and blended to a size 6 from the waist to the hem.
The instructions didn't recommend interfacing for the collar, but I did it anyway. Since the collar was cut on the bias, I felt the the interfacing should be cut the same way. The fusible that I had was only 22" wide. Not wide enough to lay it on the bias. I use cotton muslin as sew-in interfacing and it was the perfect weight for the collar.
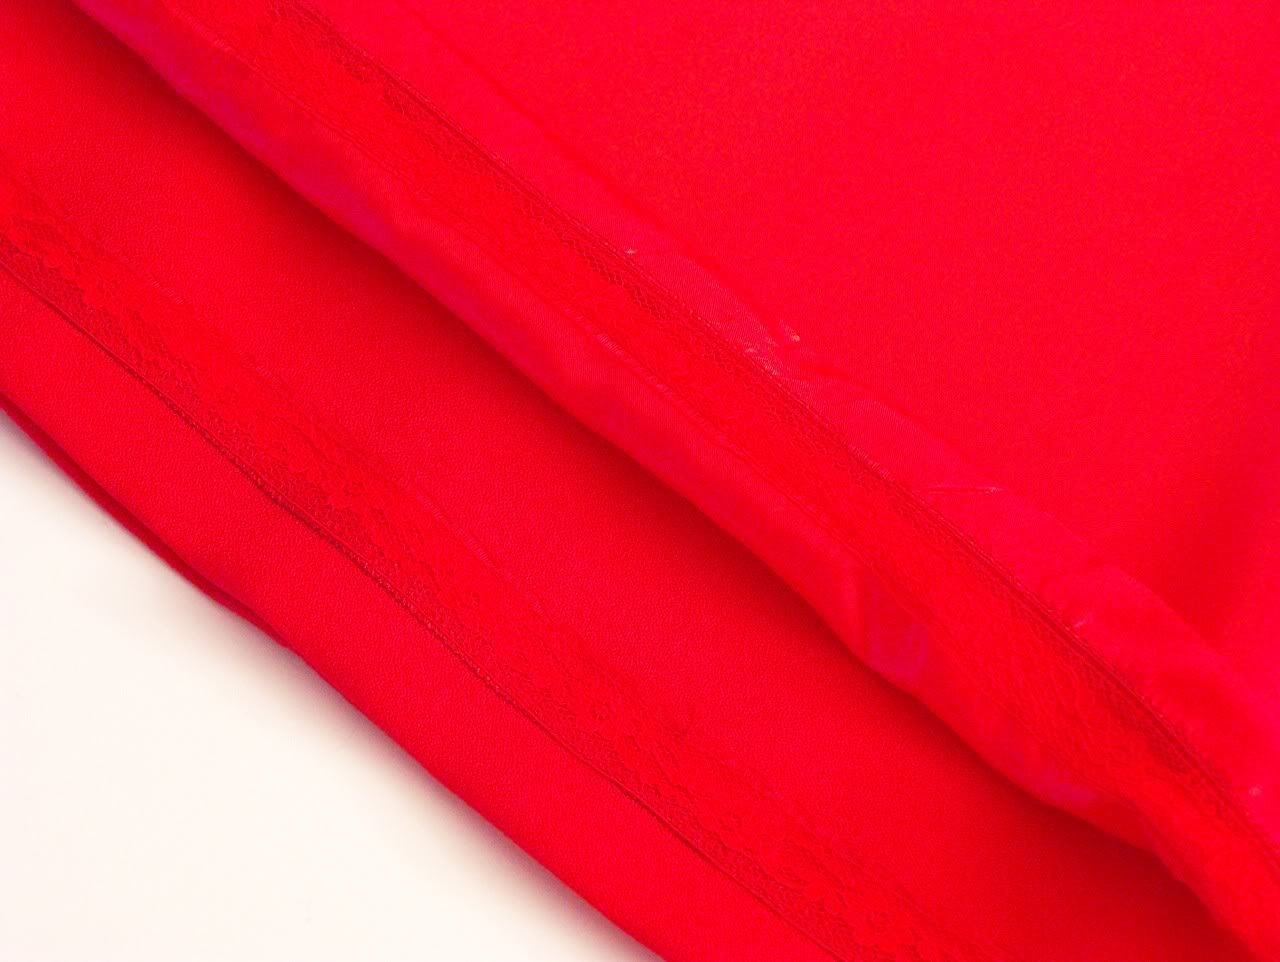
What really made this dress easy was the fact that it had no zipper. Only 2 buttons and the fabric loops at the collar. Notice that the top button is sewn on top of the collar. I used hem tape for both the shell and the lining.
I had planned on making the leggings also, but I couldn't find the type of knit I wanted. The only thing I could find locally were the shiny power knits. I didn't care for those. They scream -- on my way to dance class. I decided to just purchase a pair that looked almost like a sweater knit. We decided to accessorize with black suede platform pumps and a silk wrap since it was a rather warm night.
Wow... one week and one day until Christmas! The kids' last day of school is Wednesday and they'll be out for their 2 week Winter Break. Everybody done with all of their shopping? HA! I'm not! I managed to send out my Christmas cards on time but I still have to finish up some odds and ends early this week. By Thursday I'll shop for Christmas dinner, make sure all the gifts are wrapped, and take some holiday pictures for the photo books.
This weekend was all about movies. I think by now, most of you know that I love CHANEL... it's my favorite haute couture house. I spent Saturday afternoon watching this FAB-U-LOUS documentary about what went into putting together CHANEL's Fall/Winter 2004 - 2005 Haute Couture collection -- "Signé Chanel" (Thanks for the link Carolyn). Karl is a genius at what he does but he is the least interesting of the group. The amazing seamstresses steal the show! Madame Martine, Madame Cécile and Madame Laurence, who cut and sew until their hands are literally bloody for the sake of getting a dress finished on time (You'll note that there is not a single sewing machine in their work room. All of those beautiful pieces are sewn by hand); and about 75-year-old Madame Pouzieux who, in-between bringing in bales of hay, makes the unique CHANEL braids on an antique loom in her farm house. Also, the fabulous André Leon Talley (Vogue's Editor-At-Large) makes an appearance. The film is in French but has English subtitles... make sure you have time to sit and watch because it's extremely addictive.
On Sunday, we took in a double-feature:
"I Am Legend" was a *different* kind of role for Will. The jury is still out of what I think of this. I may have to watch it again before I can fully digest it. It's kind of "Castaway" meets "28 Days".
The next one was:
"The Perfect Holiday" was a cute, family-friendly movie with a typical happy ending for all. Even the slime-bag character made amends at the end. At first, I was unsure about this movie. I thought it would be the Christmas version of Tyler Perry's "Daddy's Little Girls"... the white collar woman falls for the broke down, struggling man. None of that was ever addressed and everybody lived happily every after!
How was your weekend?
I finished the dress (M5512) this afternoon, so here's a preview. I'll post a full review and a picture of Amber wearing it on Wednesday.
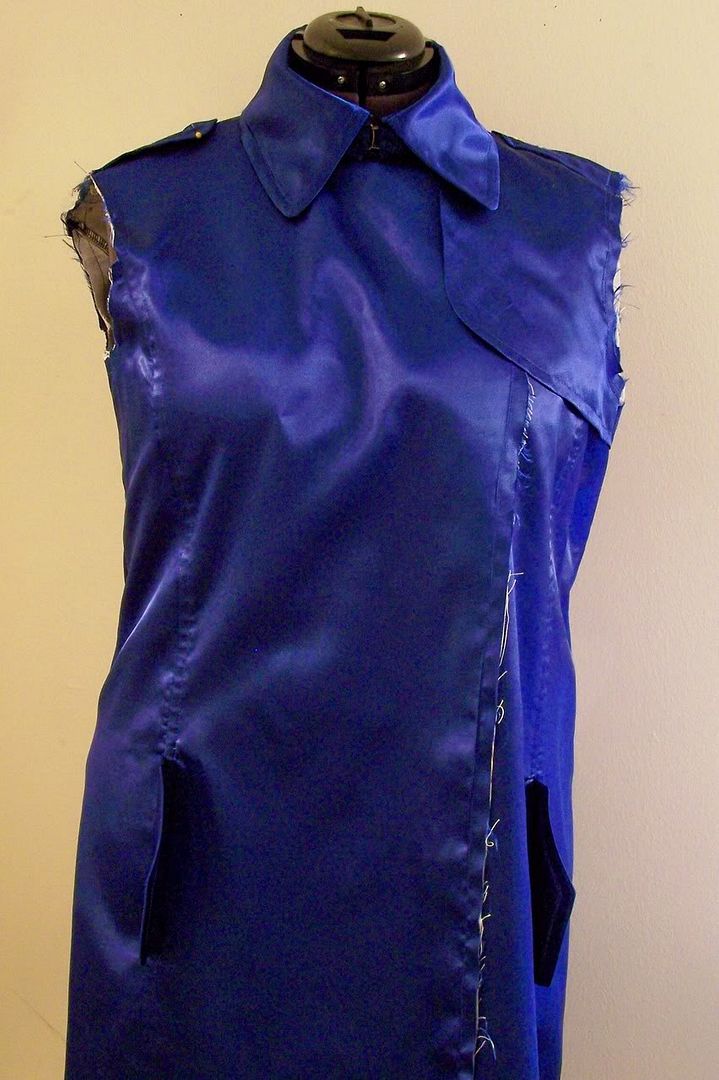
Once again, my Burberry-esque trench sits unattended and unfinished on the dressform. *sigh* You ask why? Well, I'll tell you. Amber so kindly reminded me that her Winter Dance is Wednesday and I had yet to even purchase fabric! This sent me into an immediate state of panic. What if I can't find fabric locally? My first thought was to say forget sewing and do the thing I dread the most -- going to the mall. I hate malls with a passion and avoid them at all cost, I adore boutiques though, but I digress... So, the thought of me buying a dress from, God forbid, the "mall" had Amber at the point of tears. She is serious when it comes to not wanting to be the carbon-copy of anyone else.
I took a chance today and went to Hancock. Luckily, I was able to find a lipstick-red wool crepe and it was 30% off and the notions were 10%!
I'll post pics for this late Wednesday evening.
Remember I said I *was* going to do my trench coat in the microfiber polyester? Well... see what had happened was... LOL That fabric was bitch to work with. Okay... let me give you some background info on microfiber and a small tutorial in case you ever make the mistake decide to work with it.
Microfiber fabrics are made of high-quality, superfine polyester threads, densely constructed. This density gives the fabric its drape and water and stain resistance for outerwear, although it lacks breathability. The best reason to love microfibers? No static cling.
Cutting & Sewing: To pin or not to pin?
Most performance fabrics can be pinned within the seam allowances without damage, but pins leave permanent holes in coated fabrics, so opt for pattern weights or binder clips where needed. When sewing, you should use Microtex needles because they have a thinner shaft and slimmer point than universal needles. Also, a good choice in thread would be fine embroidery thread.
For microfiber fabrics, choose the presser foot with the flattest bottom, holding the fabric taut against the feed dogs.
Lengthen your stitches slightly for this fabric, to approximately 3.0-3.5 length. Hems are beautiful when done with a coverstitch. Be sure to remove any auxiliary needles from your coverstitch machine, as pinholes will leave a permanent mark in the fabric. If you do not have coverstitch capabilities, use a double row of topstitching for your hems. Lengthen the stitch to 3.5 for this hem stitching. Seam finishes are not necessary to prevent fraying, as the fabric does not ravel. However, you may choose to topstitch your seams to encourage them to remain flat. If so, use the same 3.5 length stitching as for your machine hem. You can finger press the seam open and stitch on each side of the seamline, or you may choose to finger press the seam to one side, trim out the inner layer of the seam allowance, and run one row of topstitching to secure the seam in place.
Buttons and buttonholes will require additional reinforcement, such as a second layer of interfacing. Again, avoid the use of heat on this fabric.
You can definitely feel the resistance will attempting to pin this fabric. Make sure to use new, sharp pins. And handsewing... forget that!
Interfacing
If a fabric is already coated, a fusible will make a mess. Coatings and fusibles don't mix; use a sew-in instead. Test your fabric before fusing any interfacing. Some of these fabrics do not respond well to the application of heat; in these cases, a sew-in interfacing will be necessary. Choose cotton muslin or batiste, washed to eliminate the possibility of further shrinkage, and cut it using the same grainlines as the rainwear fabric. Baste the interfacing to the rainwear fabric with dots of glue stick. (The school variety glue stick works fine.)
What caused me to dislike this fabric was the fact that I could not press it. This garment has too many details that require pressing to just sew and go. I tested scraps of fabric to see if I could apply low heat... I could, but it did give the type of finished look I would want. When I turned up the heat, it scorched the fabric as I expected it to. I decided to just scrap it and start from scratch. I'm using a beautiful blue satin, that will give me more of the "look" of what I originally wanted. Sometimes, you should just follow your initial instinct. I'm *still* deciding on buttons (I hate picking those out) and as soon as they arrive, you'll be the first to know. Meanwhile, I have other small projects in the works and I'll be sharing those this week.