Project Details
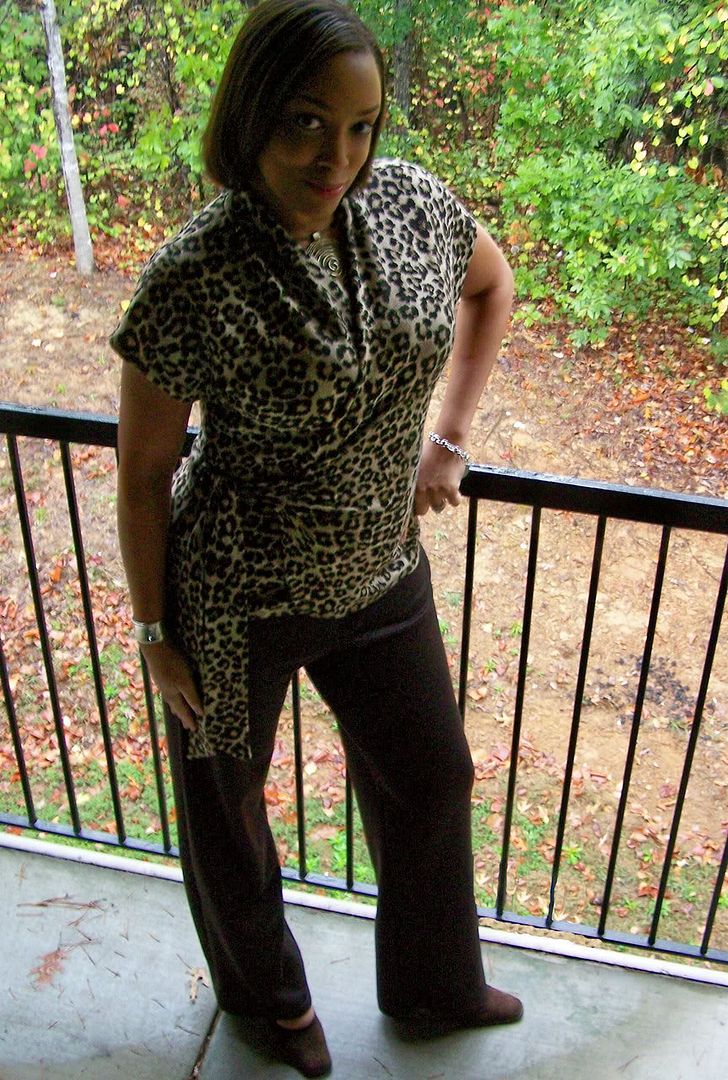
Pattern: Butterick 5101 Views A & E
Fabric:
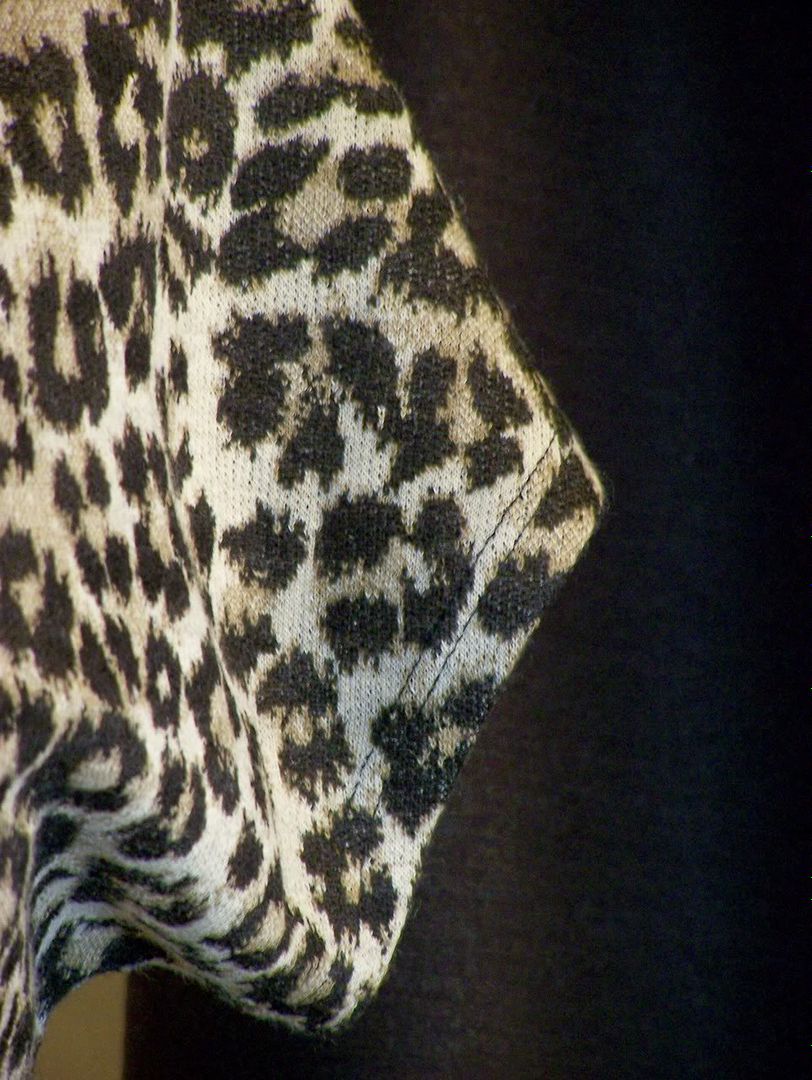
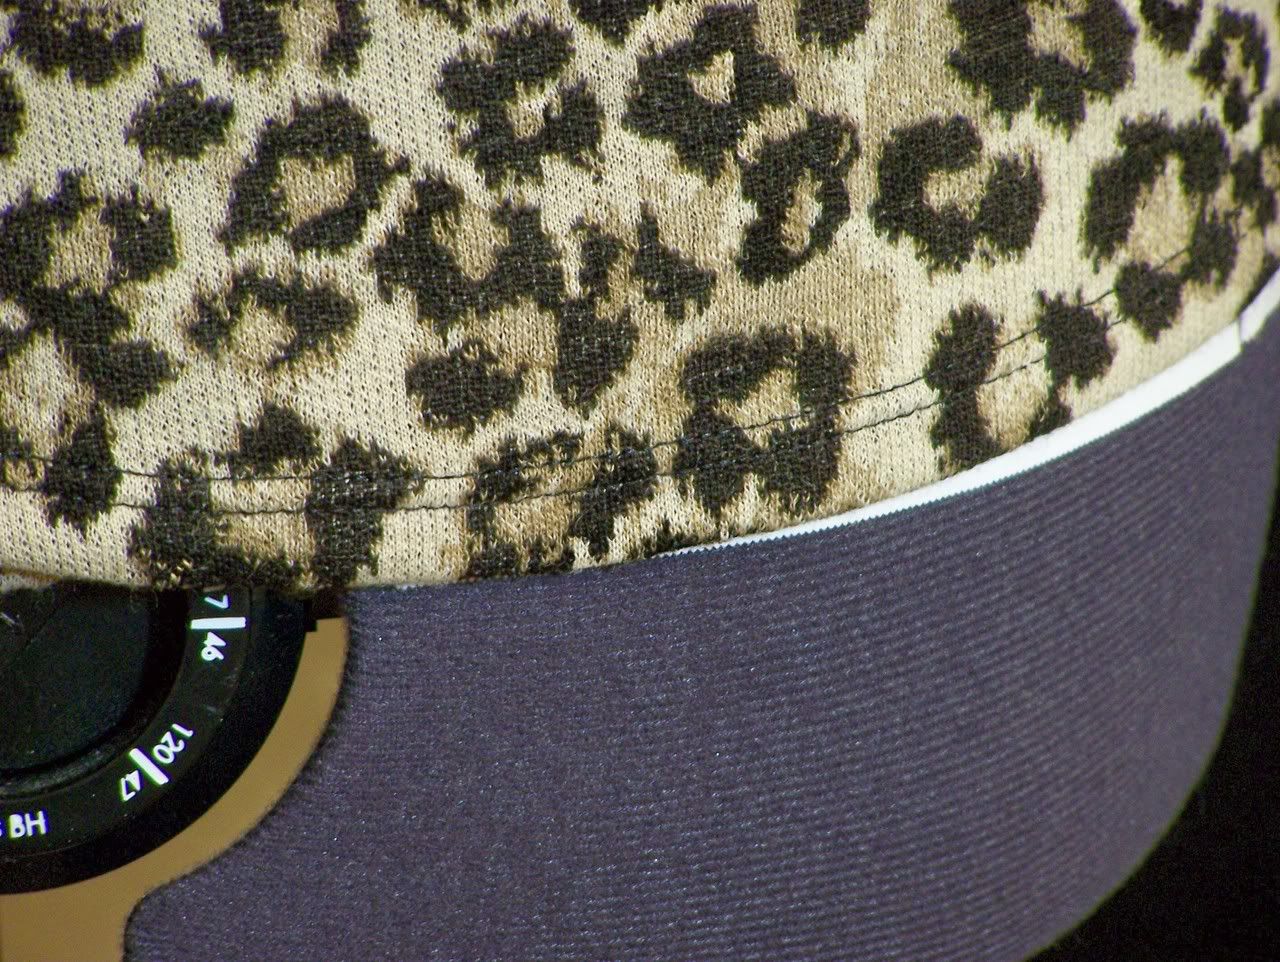
Top: cheetah print knit -50% wool/50% polyester
Pants: brown wool jersey
Description: Wrap front top with all-in-one sleeve, pleated collar extending into front neckline, side tie and straight leg pants have casing and elastic yoke.
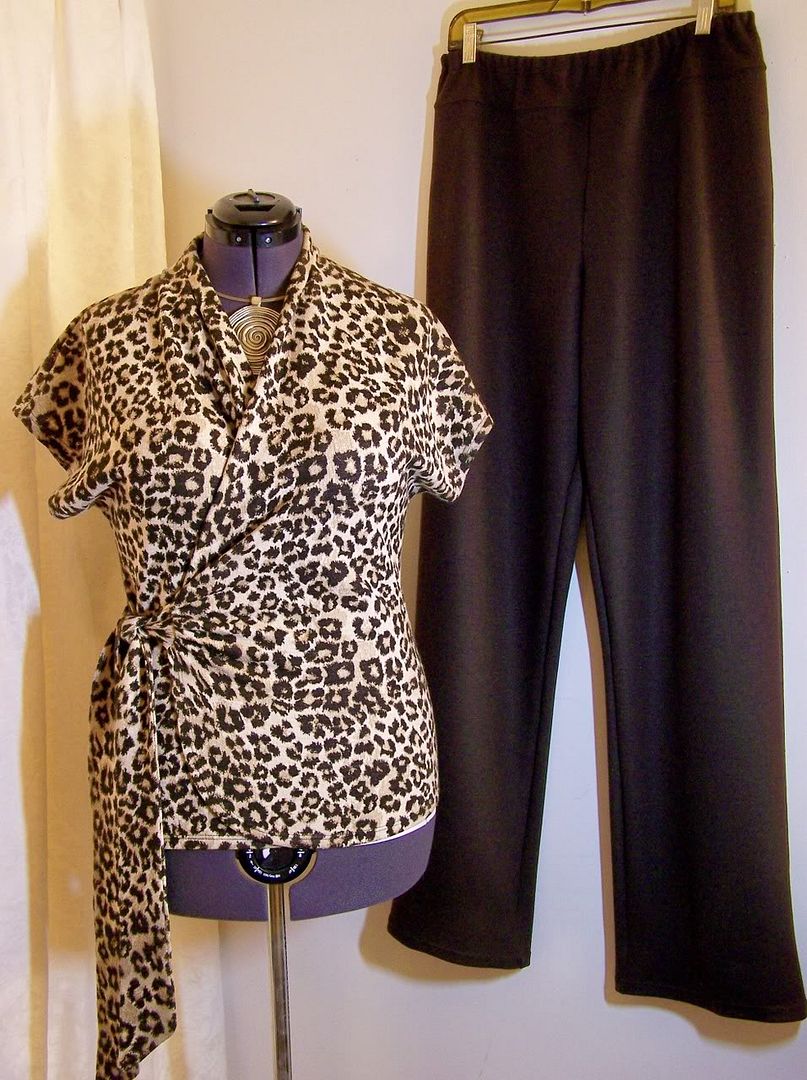 I am really loving knits this season... I wouldn't mind an entire wardrobe of knits and stretch (think Yansi Fugel)! I love this pattern! Maybe it was also the fabric I chose that gave this knit outfit the polish it needed to keep from being "ordinary".
I cut both pieces in the size large (the sizes are XS - XL). On the top, I had to lengthen it by 2 inches. I had initially planned to do view B, the long sleeve top but after I added 2 inches to the front and back and also the sleeves, I didn't have enough fabric. Since the sleeves are made into the top as one solid piece, once I made my alterations, my fabric was not long enough (that sucked). So I decided to go with the short sleeve. Another thing that I really like about this top is that it has back darts which creates a very flattering line.
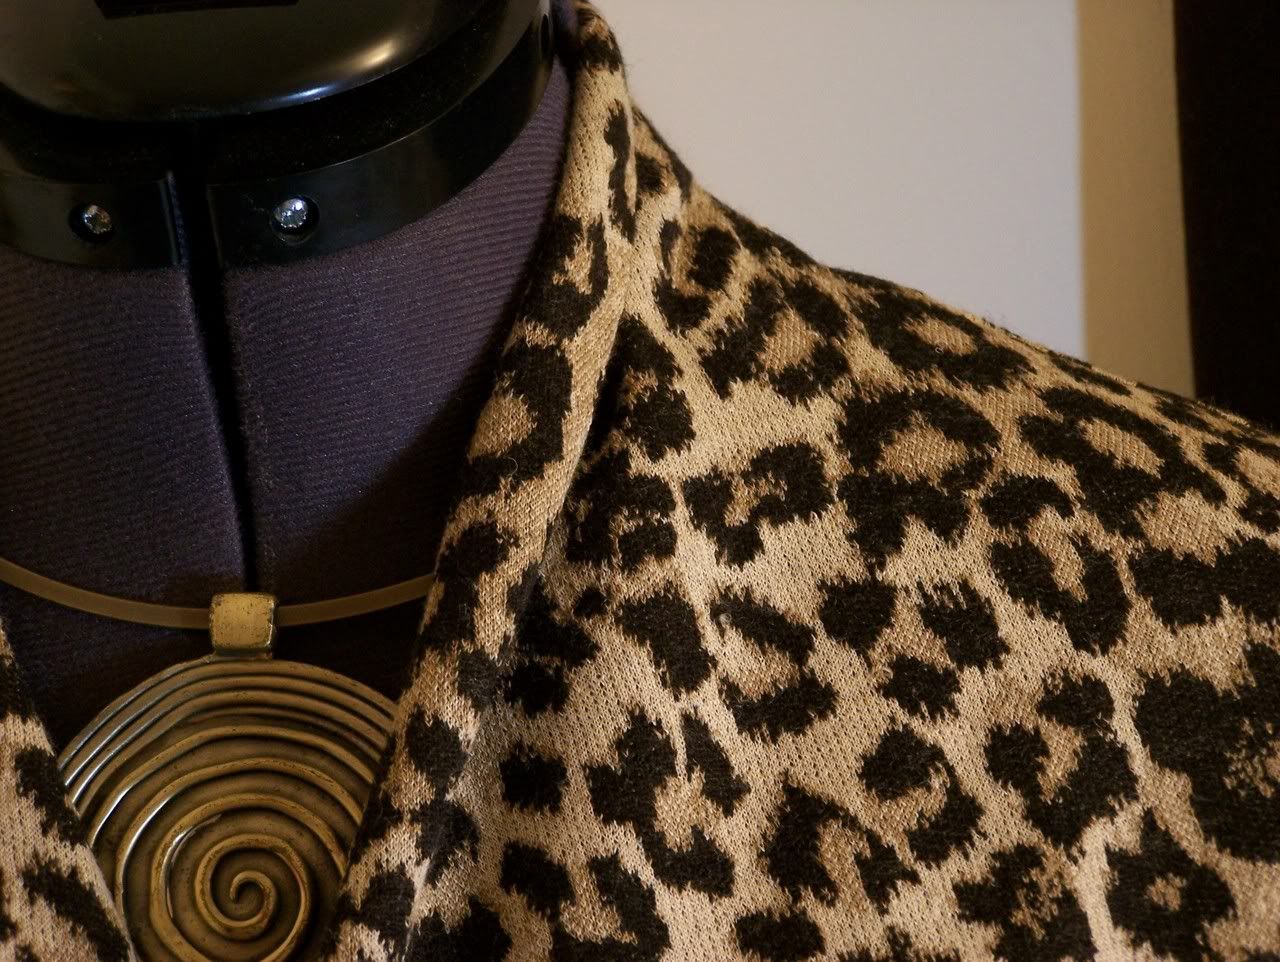 The neckline is pleated. This is created by joining the two front pieces together and stitching the pleats where indicated. Then stitching this part to the neckline of the back pieces to created a self-facing collar.
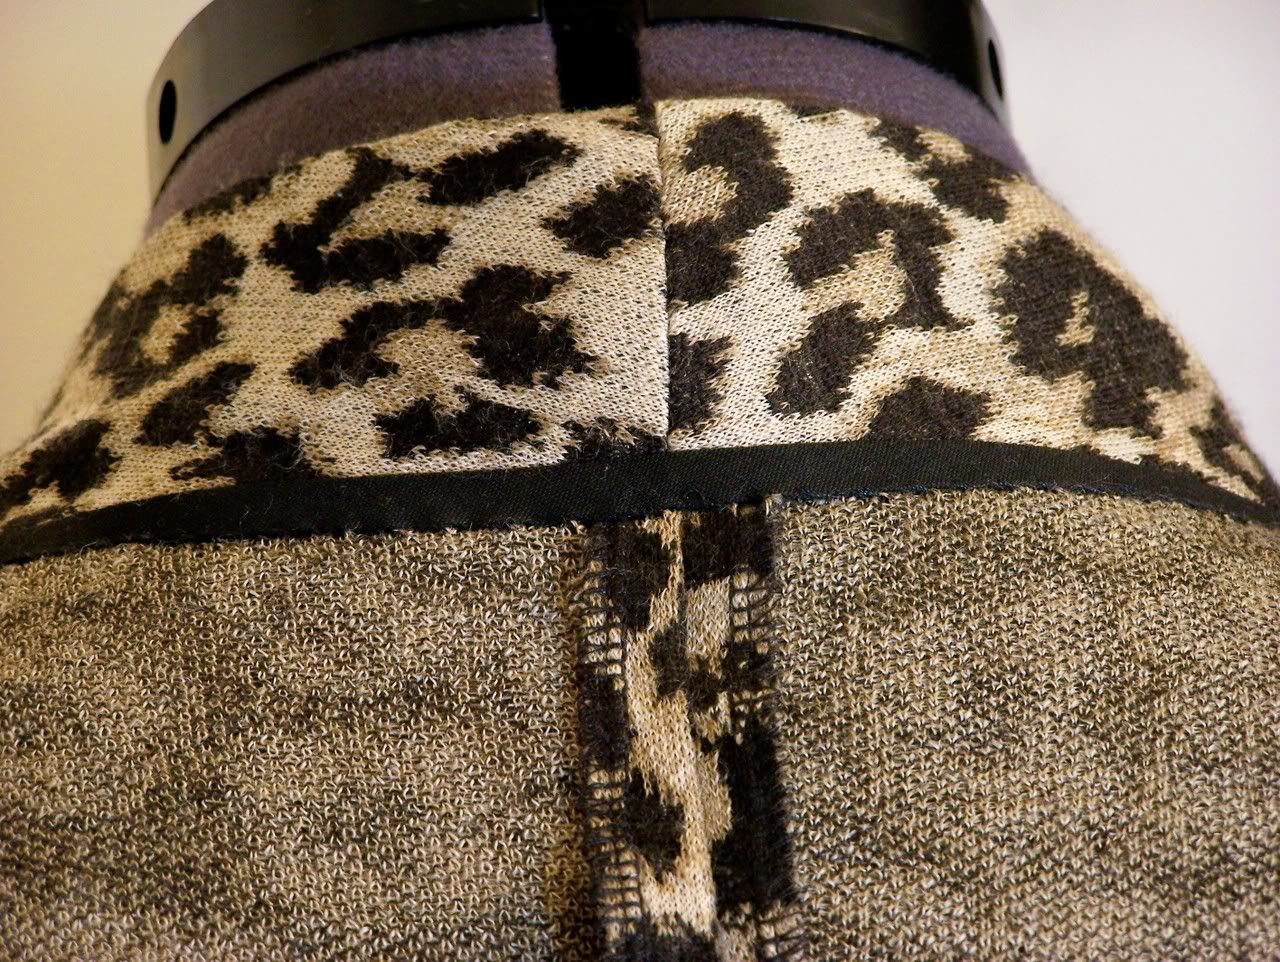 I added a strip of bias tape and the facing was turned back and slipstitched between the indicated marks. The great thing about this fabric, it has a spongy hand and the slipstitches disappeared into it.
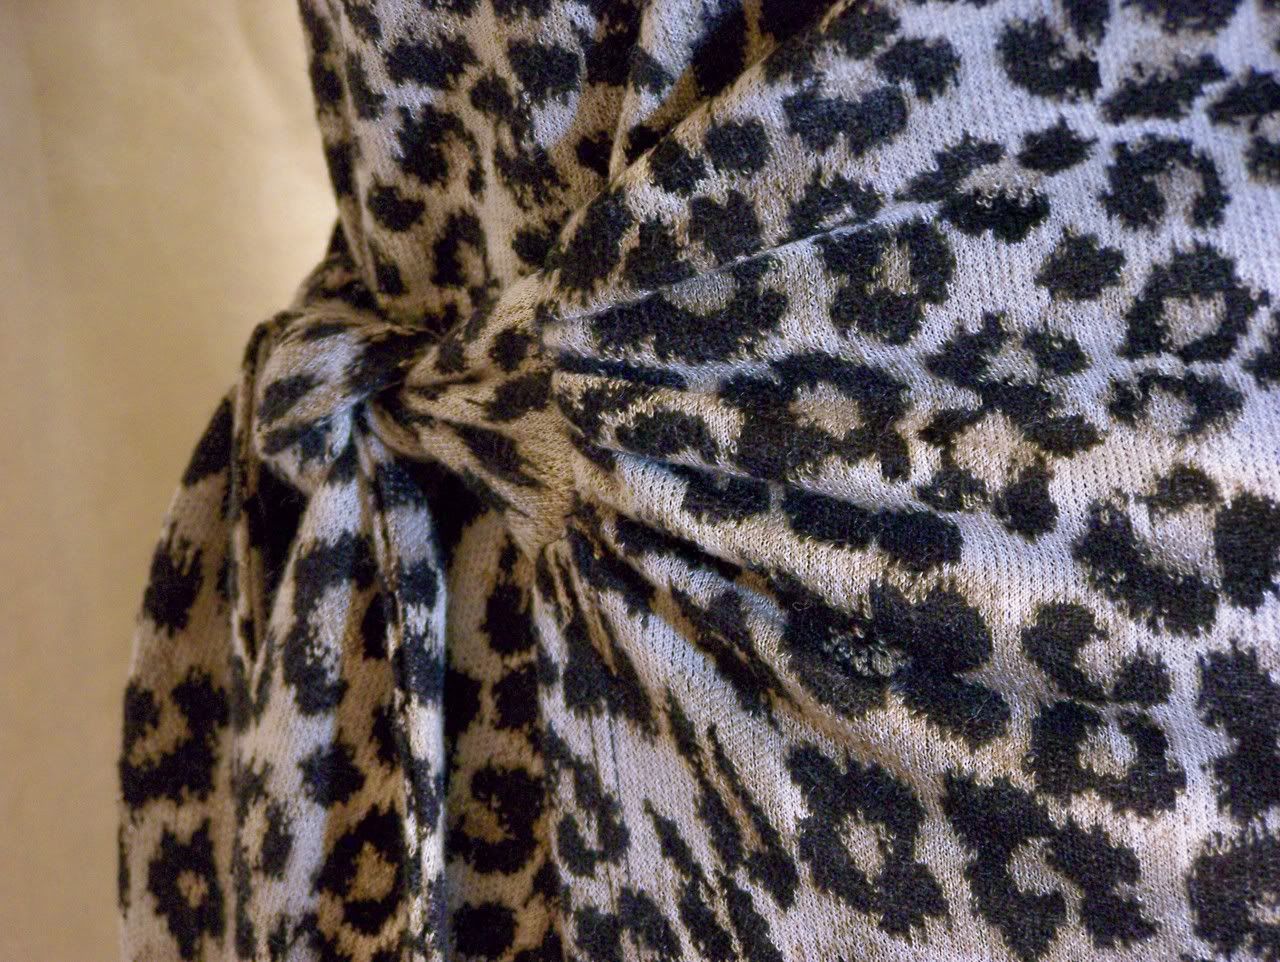 The ties were added next by gathering the fabric underneath the and basting. The final look was one that creating ruching. As we all know, ruching hides a multitude of sins.
I finished with a 5/8" coverstitched hem.
The pants were really easy... basic pants construction. I did however have to add 3 inches to the length. They have a yoke which is sewn on like a waistband. The top of the waistband is folded over and sewn down to create a casing for the elastic waistband. I used a coverstitch for the topstitching on the the "yoke" seam and also on the hem.
The pants were really easy... basic pants construction. I did however have to add 3 inches to the length. They have a yoke which is sewn on like a waistband. The top of the waistband is folded over and sewn down to create a casing for the elastic waistband. I used a coverstitch for the topstitching on the the "yoke" seam and also on the hem.
What a bad blogger I am! LOL I didn't even realized that it has been a whole week since I lasted posted. So, if you wonder what I've been doing, I've been doing extensive research for my version of the ICONIC - Chanel Jacket! Yes, this jacket requires research! I've become completely obsessed with all things Chanel and the idea of making this jacket. I have gathered my fabric, chose silk charmeuse for the lining, selected my trim (still need to pick buttons), found my patterns - Vogue 7975 as my base pattern, and Vogue 8259, because 1) I absolutely love the three-piece sleeve construction and 2) the couture construction techniques and quilting details. What I love most about this jacket is the fact that it can be dressed up or down... I'll wear mine most with jeans and remain très chic!
Here are my list of references:
Here are my list of references:
- Jackets For Real People - for the fitting details
- Couture Sewing Techniques - the section on "Chanelisms"
- "Inside Secrets of a Chanel Jacket", Threads #121-Oct/Nov 2005
- The Sewing Divas
- Marji's version of Vogue 7975
Over the next couple of weeks, I plan to make very picture oriented detailed posts documenting this entire process.
BTW, If you wanted to try this jacket and didn't want to do all of the couture techniques, there is a great article -- "Shortcuts to a Designer Jacket" in Threads #128-Dec 2006/Jan 2007.
BTW, If you wanted to try this jacket and didn't want to do all of the couture techniques, there is a great article -- "Shortcuts to a Designer Jacket" in Threads #128-Dec 2006/Jan 2007.
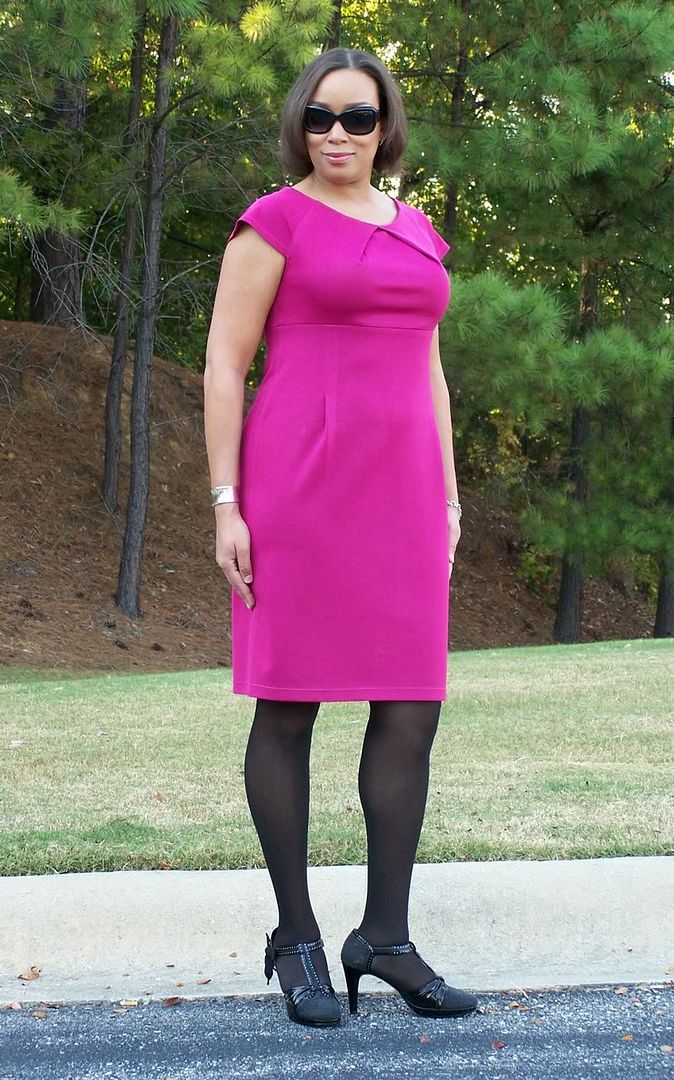
 Project Details
Pattern: BWOF 09-2007-117
Fabric: Fuchsia Satin Jersey
Notions: 22" zipper
Description: "A new version of the sheath dress, this time not cut classically straight but in tulip shape. Add some cap raglan sleeves and bright plaid fabric for a very trendy garment indeed!"
This is my very first Burda World of Fashion pattern! Now, I'm kicking myself because I've wasted so much time and let so many great patterns get away. The tracing wasn't as bad as I thought it would be... just an additional step and then on to cutting and sewing. The pieces are very will drafted and I am an official Burda convert!
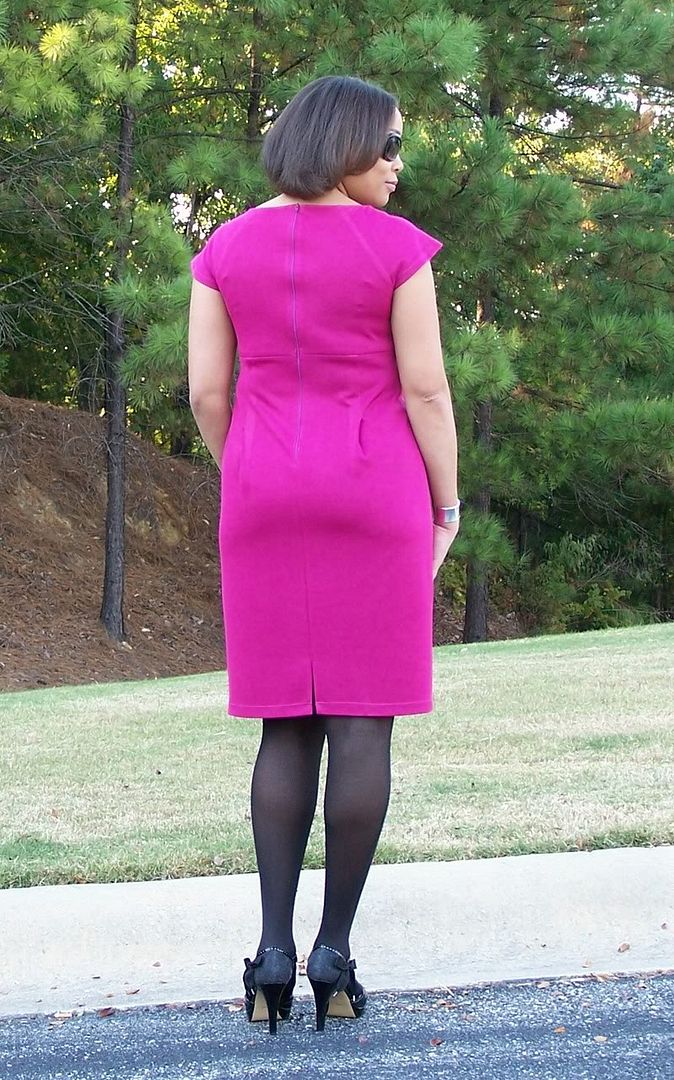
I cut a size 40 for the bodice and blended to size 44 at the hip. I was initially concerned whether or not a FBA would be needed. I didn't have anything to go by because neither of the other sewers who reviewed this pattern on PR had a full bust issue, so I was on my own with this. Once I sewed my muslin, I saw that the fit of the bodice was fine, but there were a couple of other adjustments I needed to make. I had a few horizontal lines, front and back on the skirt part at the pleats. I reduced the length of the pleats by 1" which allowed me a little more ease. Also, I didn't care for the length of the zipper. It stopped right in the crack of my butt and "bubbled out" right there. I moved the stopping point of the zipper up 2" to a more comfortable spot.
Since I used a jersey knit instead of a woven, I decided to omit the lining since this type of jersey is pretty heavy and can hold it's on (with proper foundation garments of course). I also used a coverstitch for the sleeve and the skirt hems and to also topstitch the raglan seams.
I had been doing a lot of snoop shopping lately, I noticed that a lot of high-end RTW dresses (i.e. Dolce & Gabbana, Vera Wang) had "exposed zipper fastenings". I decided this would be an interesting design feature to add to this shift dress.
As you see, I omitted the collar. When I made my muslin, I didn't like the way it looked on me. I kept having the urge to pull on it. I really like the boatneck style and it really shows up the pleated bodice's detail. Another plus was that when I was making my muslin, the neckline of the dress looked really familiar to me. I scrolled through my "inspiration file" (everytime I see something that peaks my fancy, I save it) and I found it! This dress reminded me of the RM designed by Roland Mouret - Moon Dress, that retails for a mere $2,150.
I'm very happy with the way the outcome and I can't wait for an occasion to wear this.
This weekend, we celebrated our 16th wedding anniversary (Oct. 14th). This year we decided to stay home and cook together with the kids since we had a big to do last year. It's always fun to cook with the kids. We prepared roasted cornish game hens with wild rice stuffing, sauteed green beans with baby portobello mushrooms, shallots and garlic and a nice bottle of white wine for the grown ups.
 Saturday night, Michael and I went to the movies to see Why Did I Get Married. This was Ty.ler Per.ry's best effort by far. I've read different reviews and varying opinions, but we all really thought this was a great movie... very relatable for us married folks.
I did very little sewing this weekend, but after some household maintenance, I'm back at the cutting table. So, what did you do?
It's 1995 (again)! This year is pretty significant to me for the good and the bad. So many songs defined the soundtrack of my life. Here's TLC's biggest hit:
Brightening up my monochromatic wardrobe!
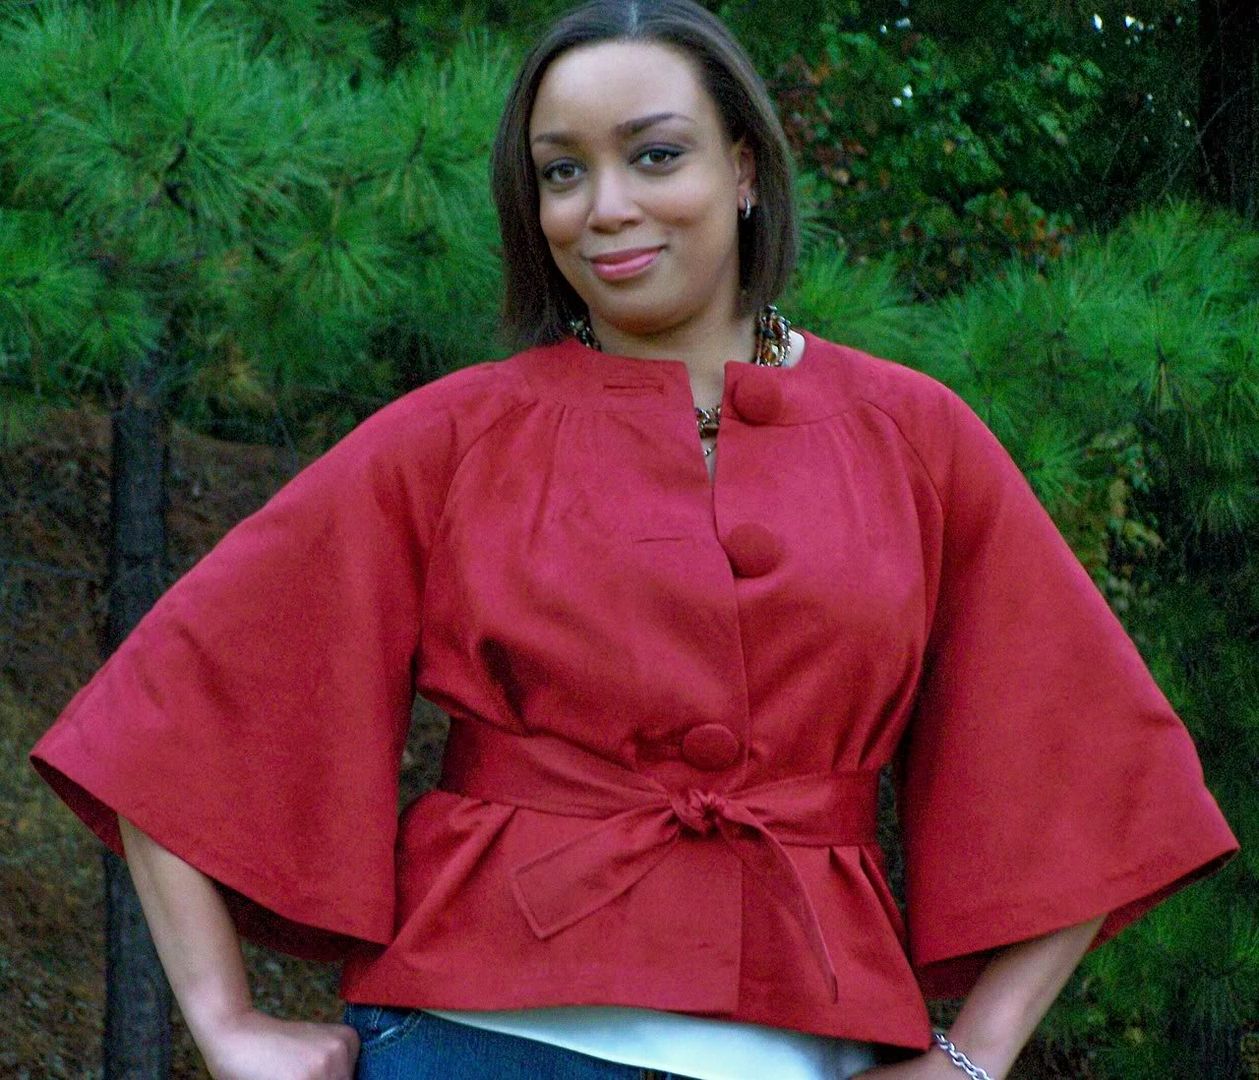
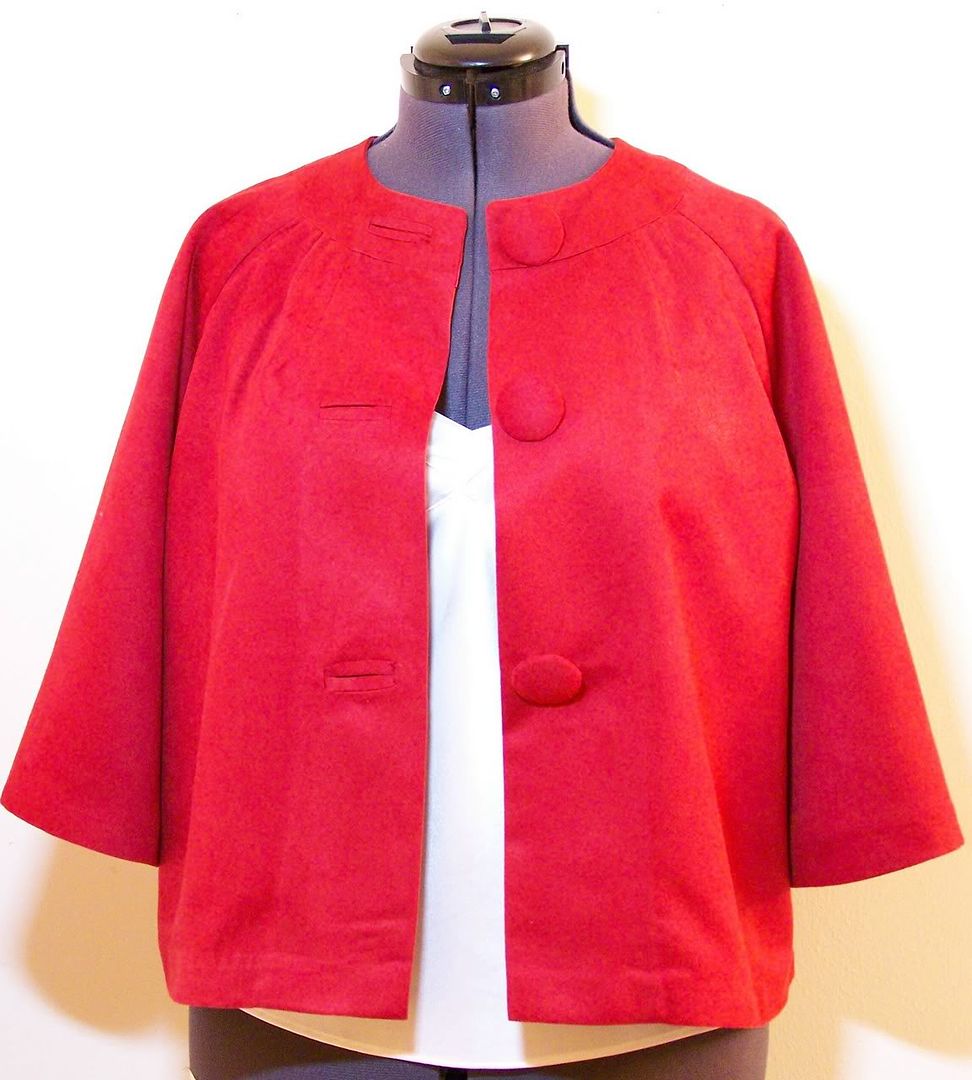
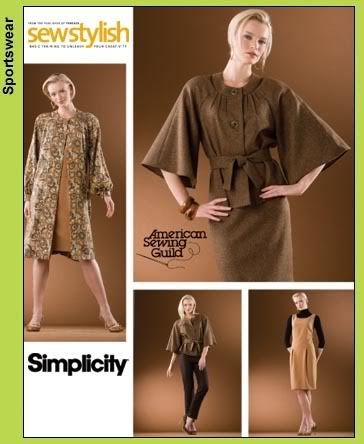 Project Details
Pattern: Simplicity 3631, View B
Fabric: Faux Suede
Notions: Three Dritz Half Ball Cover Buttons (1 1/2"); lining fabric for seam binding; 4" chain
Description: Jacket has oversized covered button fastenings, cropped cape-like raglan sleeves, and belt.

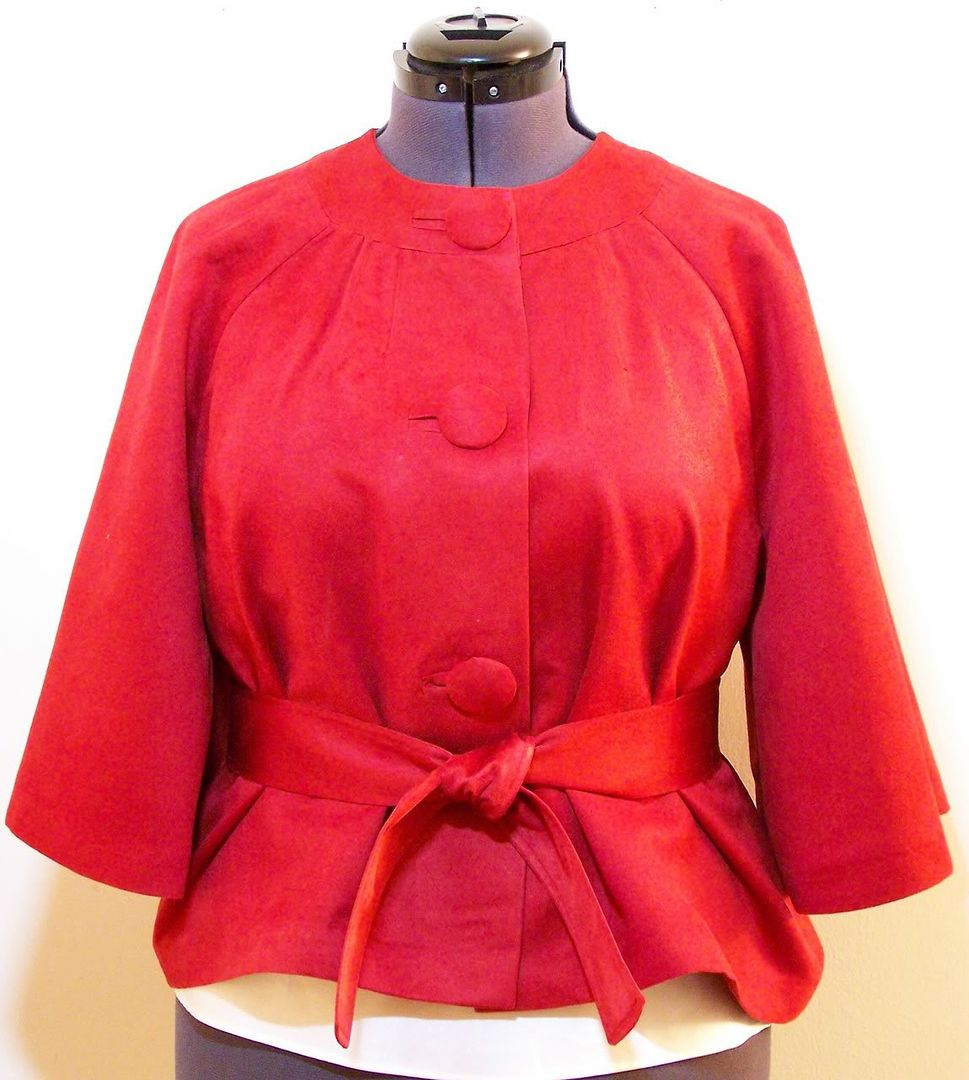
 Project Details
 Pattern: Simplicity 3631, View B
Fabric: Faux Suede
Notions: Three Dritz Half Ball Cover Buttons (1 1/2"); lining fabric for seam binding; 4" chain
Description: Jacket has oversized covered button fastenings, cropped cape-like raglan sleeves, and belt.
I cut jacket in a size 16, using a faux suede. This pattern is very easy, even a beginner could have smooth sewing on this. I didn't like the reversed pleats that the instructions suggested, so I made the pleats the "normal" way and topstitched them on the right side. I'm so accustomed to lining my jackets and since a lining was not required for this one, I used a Hong Kong finish for the seams. I found lining fabric in a similar color to the fashion fabric and cut 1" strips on the bias. I sewed these to my seam allowances by stitching 1/4" from the edge, trimmed to a scant 1/8", folded the bias strip over and ditch stitched on the right side. I also decided to go with bound buttonholes. I ran across a fantastic tutorial on the Sew-4-Fun blog... one of the easiest I've seen. I'll be using it for welt pockets also. And for a finishing touch, I added a hang chain to the back. I sewed this in right underneath the back facing. While snoop shopping, I noticed these were prevalent on high-end RTW jackets.
Overall, I'm very pleased with the outcome of this jacket. I feel that I took a simple pattern and transformed it into a designer looking garment.
Overall, I'm very pleased with the outcome of this jacket. I feel that I took a simple pattern and transformed it into a designer looking garment.
Okay... I tried to fight it as long as possible. I didn't get the point of doing all of the extra work of tracing, adding seam allowances when there are perfectly good patterns out there, on sale for 99 cents just waiting to be cut and sewn. So, I said "What the hay", I'll give it a looksey! O-M-G!!! I am in love! I got the August issue (thanks Cidell) and the elusive September issue (I bid way to much for it on eBay). So, as soon as I finish up what I'm working on now (I'll post on Monday morning), I'll start tracing. I bet your question is -- what am I going to do first?? Hmmm... good question! LOL It's soooooo much I want to do, I don't know quite where to start. I feel like a kid at Christmas... I don't know which box to rip open first!
These are the first ones to catch my eye:
#117-8/2007
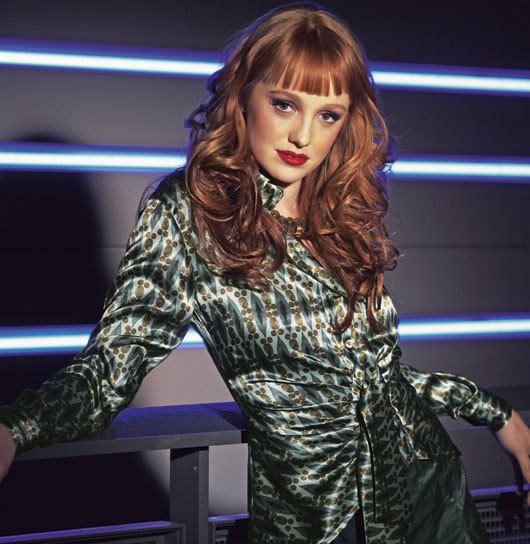
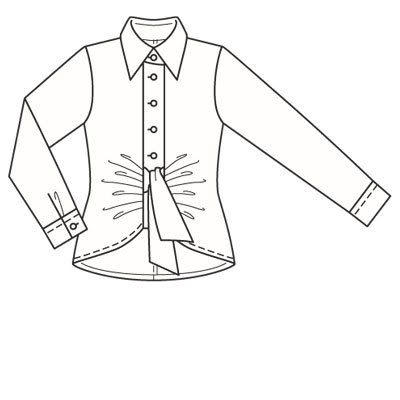
#117-9/2007
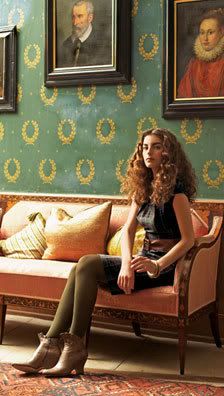
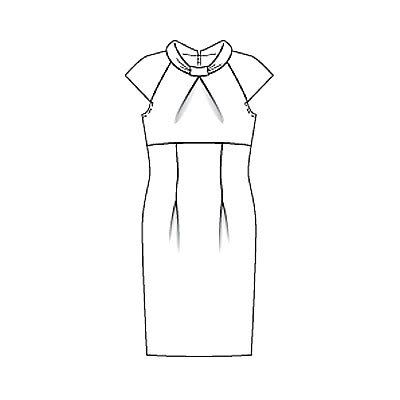
#110-9/2007


Let's go back to 1995, with Amel Larrieux and Groove Theory!
Teen Vogue offers D.I.Y. tips on recreating designer, red-carpet looks.
(click the pics for D.I.Y. instructions)
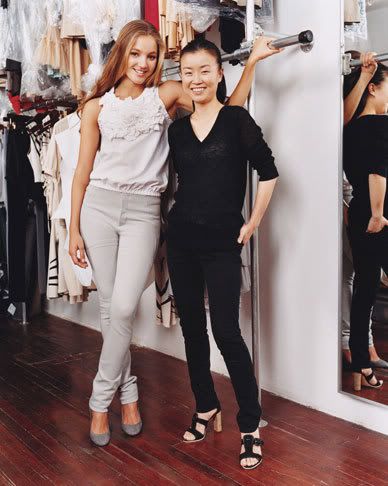 And this little tank by Doo Ri was my favorite recreation. Hmmm... you may be seeing something similar! LOL
Sure, we get a few designer patterns in Vogue Patterns but, I think it would be nice if the major fashion mags did these little spotlights. We grown up DIVAS enjoy "doing-it-ourselves" too!
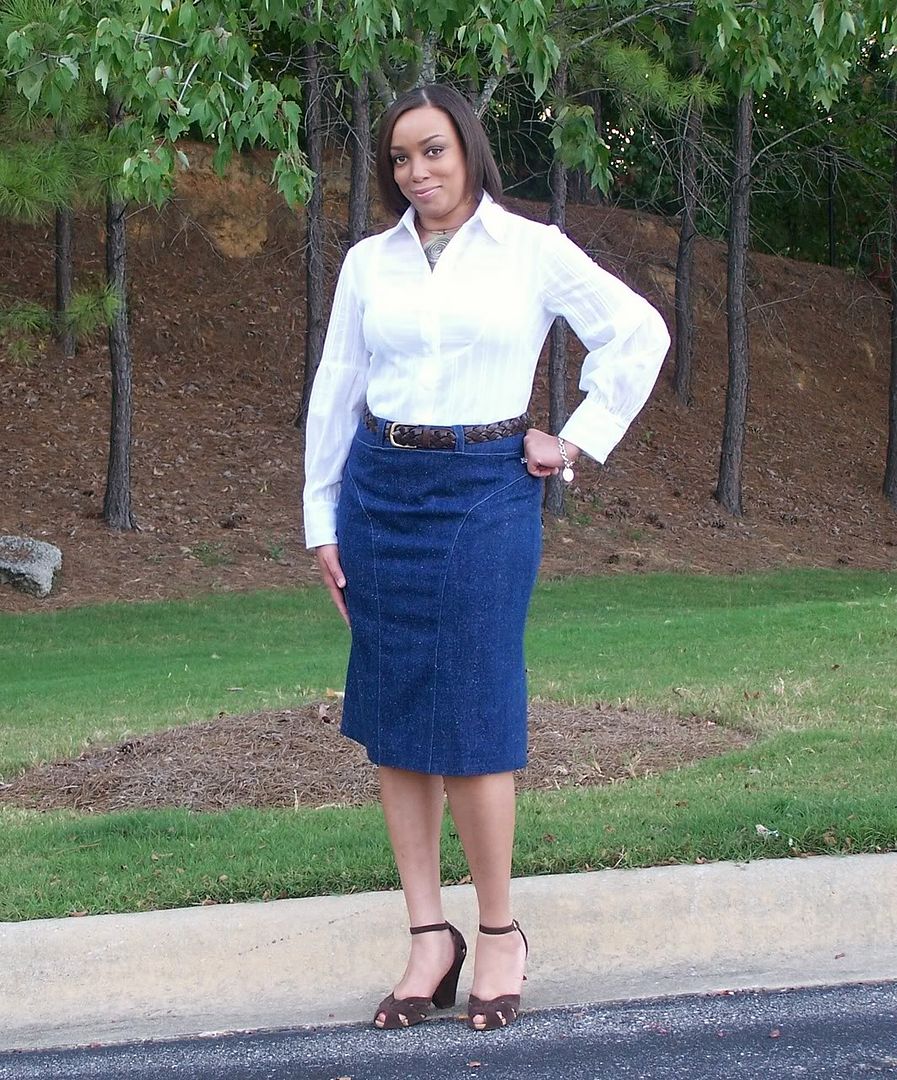
Is that not the best quote? LOL Veronica Webb said that on Tim Gunn's show. And that's very applicable to the way I live. You can still be cute, stylish and comfortable without looking "ugly".
I guess y'all have figured out that I have an affinity for white shirts! What's simpler than a white shirt and a denim skirt? Nothing... too easy! And this is probably not the last one! LOL
I guess y'all have figured out that I have an affinity for white shirts! What's simpler than a white shirt and a denim skirt? Nothing... too easy! And this is probably not the last one! LOL
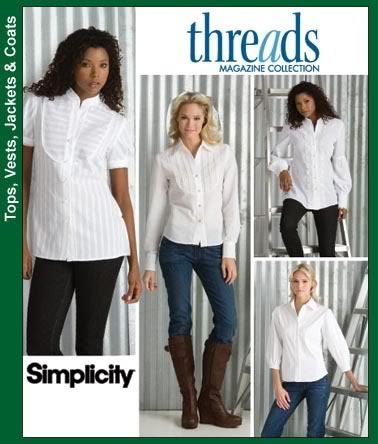 Project Details
Pattern: Simplicity 3684, view A & C
Fabric: Heirloom Cotton (100% cotton)
Notions: eleven 1/2" buttons
Description: Misses Threads Collection shirt with B, C, D cup sizes; with tuxedo bib front and bishop sleeves.
This pattern came right out of the envelope, ready to go. I cut the size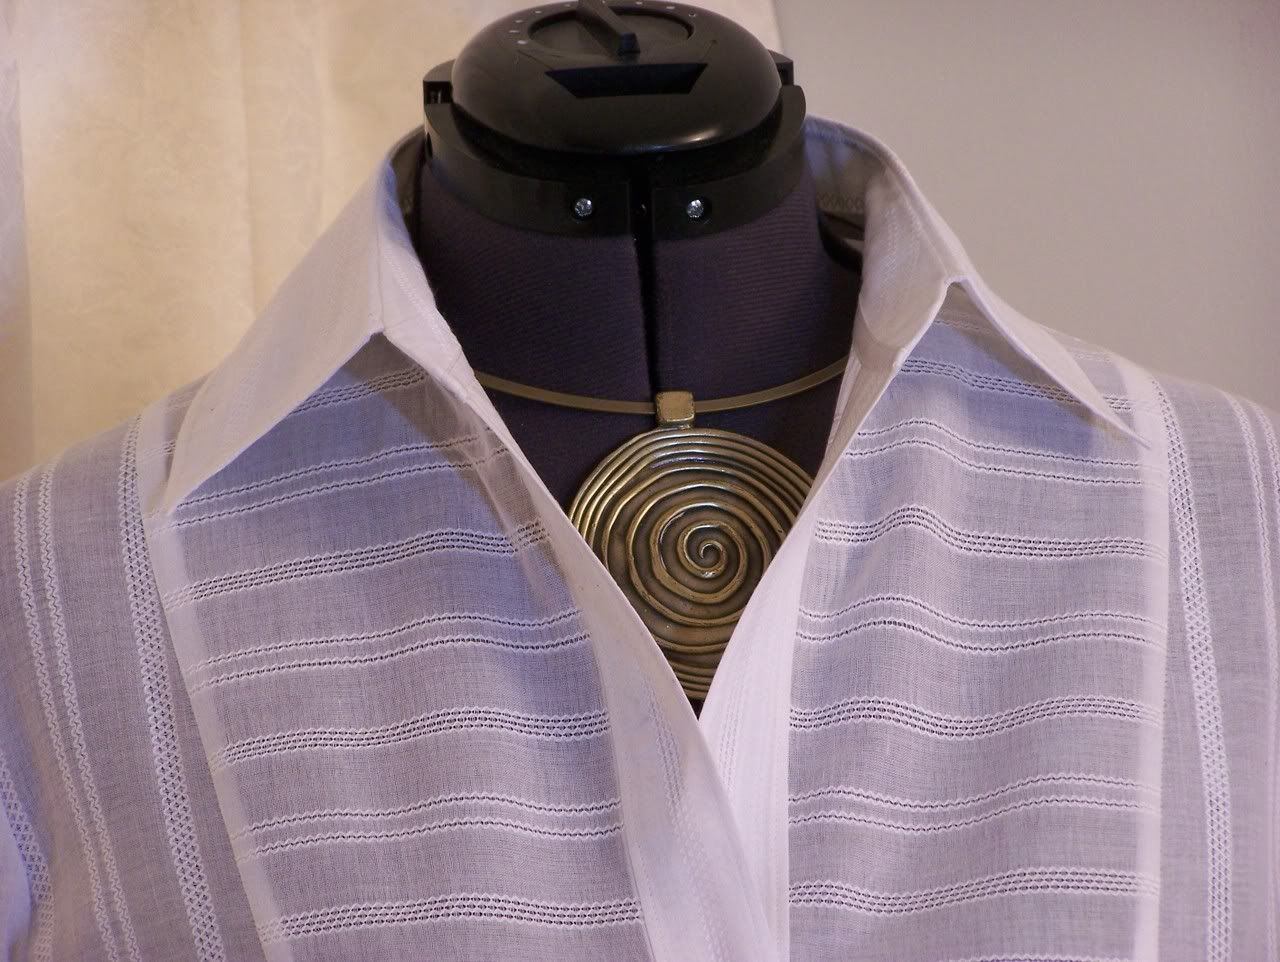 16 with the D cup. I used view C's front and back, so there was no need to lengthen. I used the collar and bib pieces from view A and Michael suggested I use the bishop style sleeves from view C. Unlike the last shirt I made, this one has real front bands. I referred to David Coffin's Shirtmaking book for construction tips. Since my fabric is very lightweight, I used french seams. I used Palmer/Pletsch Perfect Fuse
  white sheer interfacing.
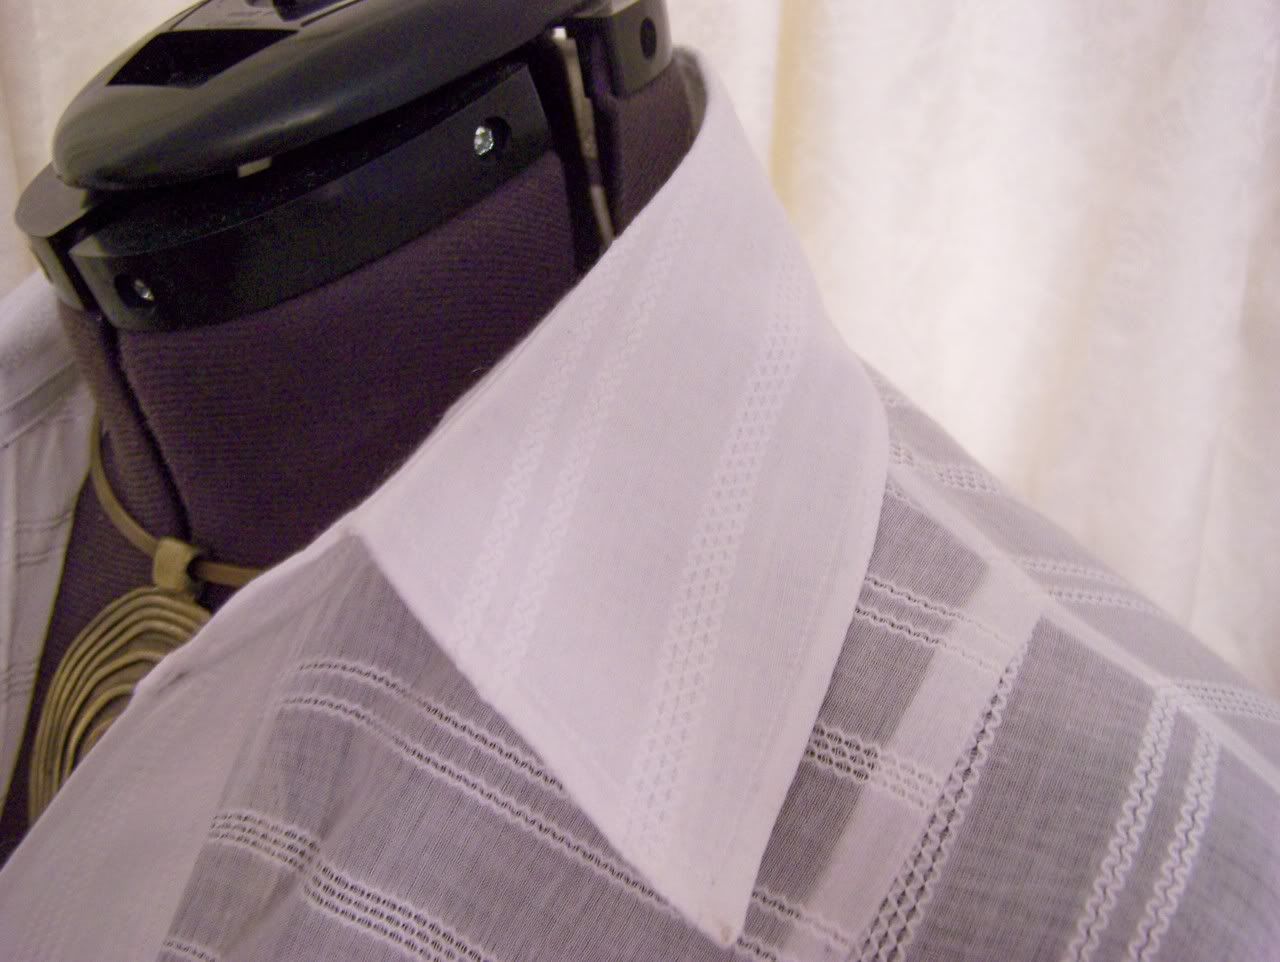
I cut the bib pieces so that the stripes would fall horizontally. I also had to change the direction in which the collar stand and collar were to be laid out. Since this fabric is striped and the stripes are in the direction of the grainline, if I had cut the collar pieces on the fold as instructed by the directions, the stripes would have fallen vertically instead of around the collar. I added a bias tape binding to the collar stand because I like the clean edge look and I wanted to. LOL Even though I forgot to get a closeup, the cuffs have a 3 button closure. I finished this off with a narrow hem. Since sleeves are really making the shirts this season, this is another great wardrobe addition!
This pattern came right out of the envelope, ready to go. I cut the size
 16 with the D cup. I used view C's front and back, so there was no need to lengthen. I used the collar and bib pieces from view A and Michael suggested I use the bishop style sleeves from view C. Unlike the last shirt I made, this one has real front bands. I referred to David Coffin's Shirtmaking book for construction tips. Since my fabric is very lightweight, I used french seams. I used Palmer/Pletsch Perfect Fuse
  white sheer interfacing.
I cut the bib pieces so that the stripes would fall horizontally. I also had to change the direction in which the collar stand and collar were to be laid out. Since this fabric is striped and the stripes are in the direction of the grainline, if I had cut the collar pieces on the fold as instructed by the directions, the stripes would have fallen vertically instead of around the collar. I added a bias tape binding to the collar stand because I like the clean edge look and I wanted to. LOL Even though I forgot to get a closeup, the cuffs have a 3 button closure. I finished this off with a narrow hem. Since sleeves are really making the shirts this season, this is another great wardrobe addition!
 Project Details
Pattern: Vogue 8426, View C
Fabric: Dana Buchman Silk Denim (100% silk denim)Notions: Invisible zipper (cut to fit); hook & eye
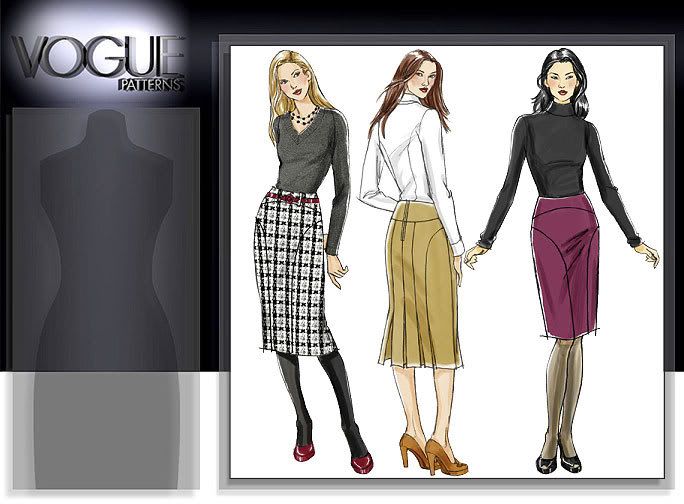
Description: Below the knee skirt with shaped seams, back zipper, self-faced yoke and triple pleats with underlay.
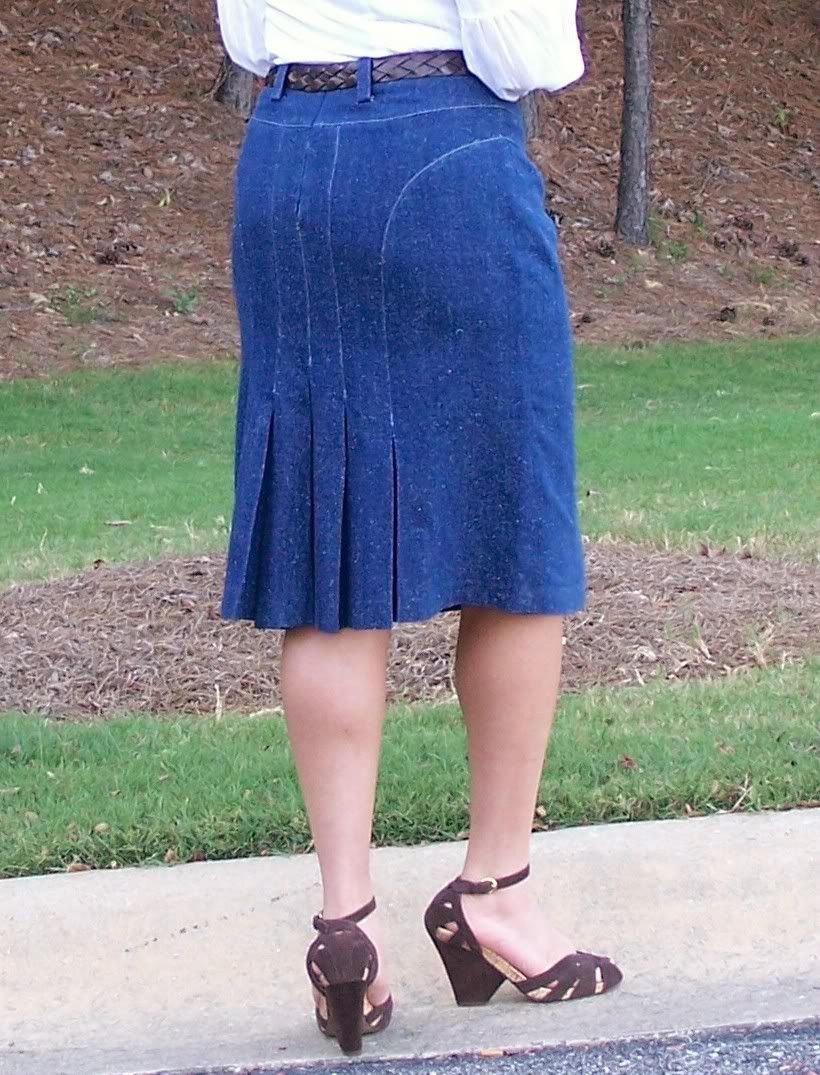
This skirt is a unique variation of the pencil skirt with it's very flattering 1940's cut. Even though this is a "Vogue Easy" pattern, the pleats and underlays were very time consuming. The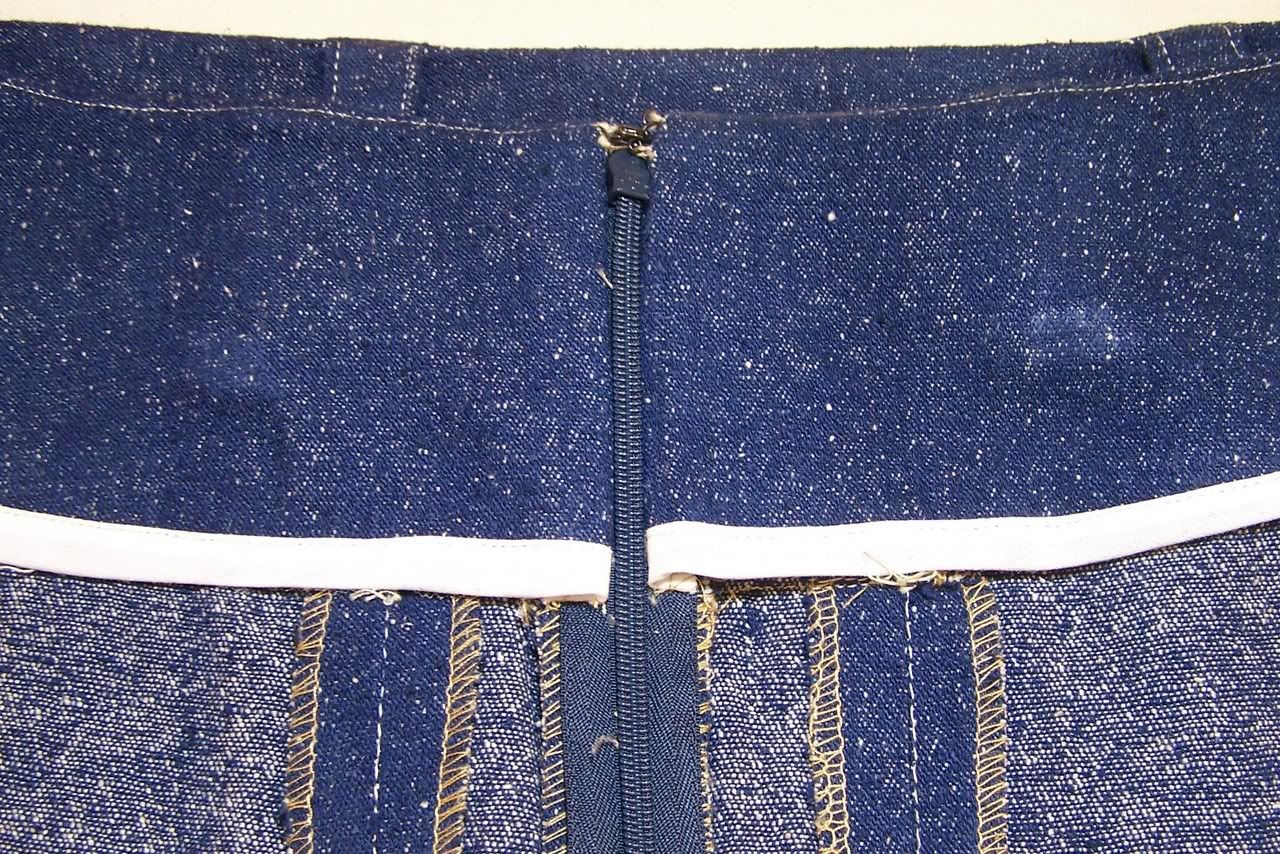 pattern is extremely well drafted and all of the uniquely shaped pieces went together perfectly. I chose view C because of the length. I'm a little "long in the tooth" to be running around in mini's for an everyday look. LOL I added seam binding to the facing and used Ann's method for a RTW - Style Zipper Facing. I serged all the edges and pressed them open. I added the belt loops from view B and I finished with a 2" handsewn hem.
This skirt is a unique variation of the pencil skirt with it's very flattering 1940's cut. Even though this is a "Vogue Easy" pattern, the pleats and underlays were very time consuming. The
 pattern is extremely well drafted and all of the uniquely shaped pieces went together perfectly. I chose view C because of the length. I'm a little "long in the tooth" to be running around in mini's for an everyday look. LOL I added seam binding to the facing and used Ann's method for a RTW - Style Zipper Facing. I serged all the edges and pressed them open. I added the belt loops from view B and I finished with a 2" handsewn hem.
 If you didn't know, the new season of Project Runway starts November 14th. I've noticed a distinct twist this time... they are ALL "real" designers already! In the past, most were up and coming designers, tailors, dressmakers, costume designers, boutique owners, etc... So, what's the point? LOL
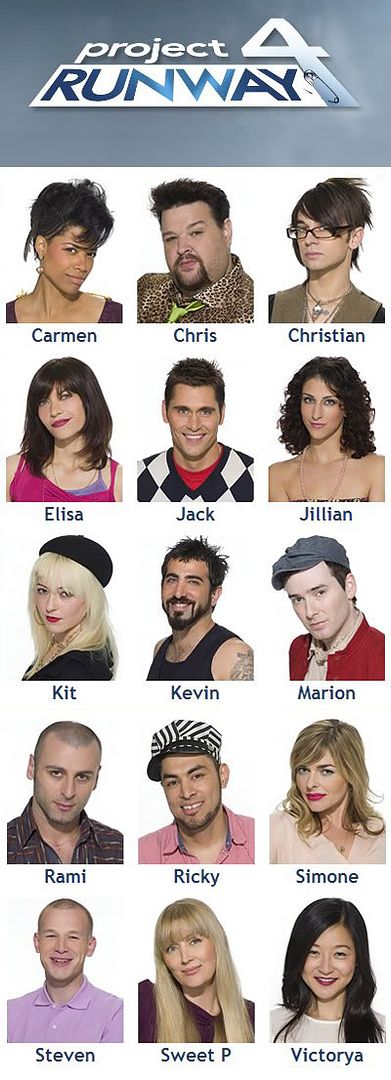 Take Carmen Webber for example, I'm already familar with her work. She's one of the designers for SOH (Sistahs of Harlem)... I love her style! And I saw that episode of Tyra last year with Rami Kashou which inspired me to do my own version of the "balloon dress".
 I've read all of the bios... they all have diverse backgrounds and education levels. So, how do you think this little twist will pan out? Do you think the quality of their designs will be better than previous contestants or about the same?






.JPG)


